The timing gear tower houses the majority of the timing gears and is mounted on the front of the engine as shown below.

The timing tower assembly consists of a front and rear half, each holding 6 ball bearings for the gear shafts. The quality of the gear mesh is determined by the alignment and precision of the gear tower inside machining which includes not only the bearing positions, but the alignment of the screws holding the assembly together. For this reason, all of the inside machining of both halves was done first and done in a single set up. There is a fair amount of machining required on the outside face of the timing gear tower front half. This was done as a secondary operation with the work piece mounted on a fixture using the screws for alignment to the rear features.

Inside Detail of the timing gear tower assembly
I start with the inside of the rear timing tower first as the back of the part is flat with minimal machining. Then I perform basically the same machining on the inside of the front timing tower.

Once the machining is complete on the inside of the rear gear tower, I secure it face up on a fixture block that has been prepared by machining flat and the screw holes drilled and tapped.

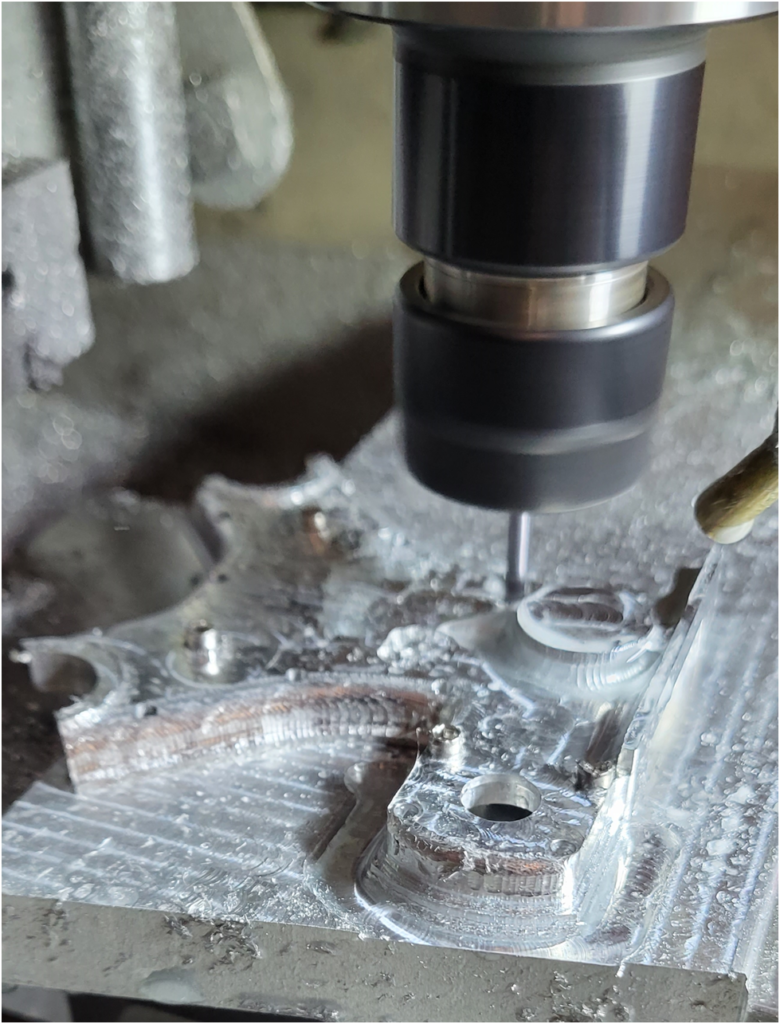
Since I needed to machine the complete front face of the gear tower, I had to machine in two separate operations because the securing screws were in the way. I secured the part to the fixture with four screws as shown in the photo, machined half, then moved the mounting screws to the area just machined and completed the secondary operation.

I had an error in my tool path and I crashed the end mill into the part, this resulted in a blemish on the face of the finished piece.
Machining of the face was accomplished with a 1/4″ end mill, a 3/16″ ball end mill and a 1/8″ ball end mill.

Likewise when I machined the countersinks for the mounting screws, I had to move the screws around so the work piece remained firmly mounted.

Below is an inside view of the two gear tower halves.


I will finish the part with bead blasting and then hand sanding to give it a used cast aluminum look, like I did on the front cover. When asked about the blemish, I explain that I machined a Carnation flower into the face as a sort of makers mark.
