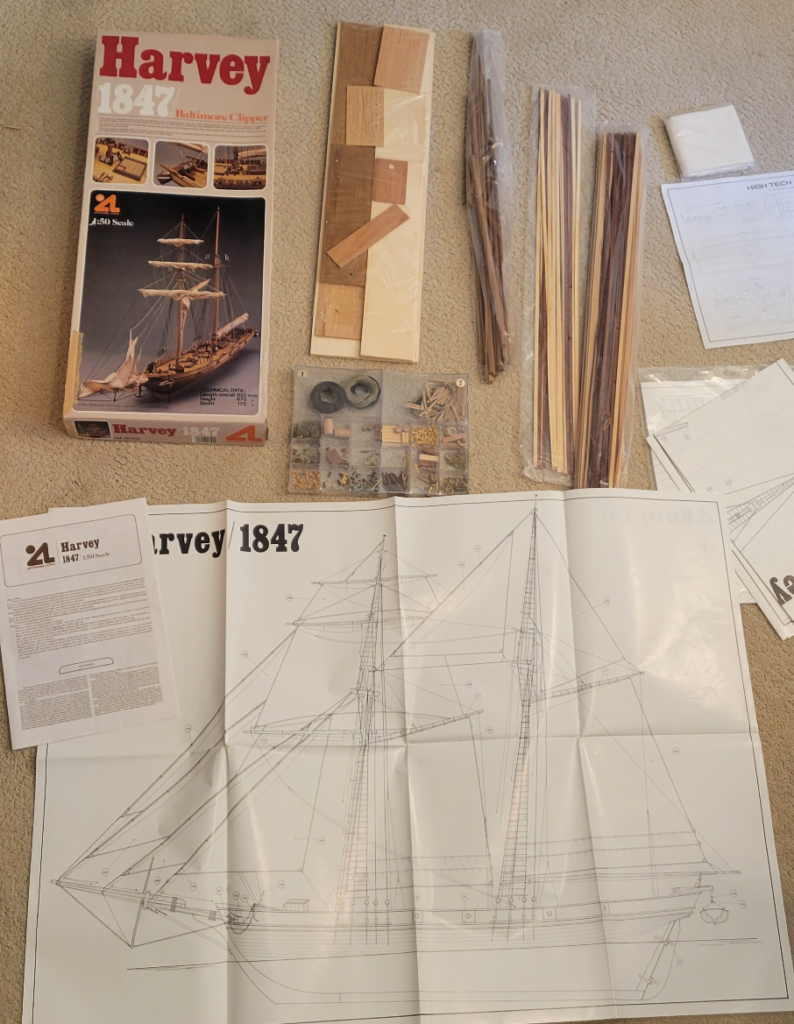
This kit is over 35 years old, is no longer avaiable, and deserves to be assembled. This is my first ship kit–I have built some simpler scratch built ships, but figure a kit with detailed insturctions will help me develop experience with more complicated details such as the deck furnatire and rigging.
Artesania Latina’s Harvey is a fictitious ship representiative of the Baltamore Clippers. I have William L. Crothers’ wonderful book, “The American-Built Clipper Ship” and love the sleek lines of these fast ships.
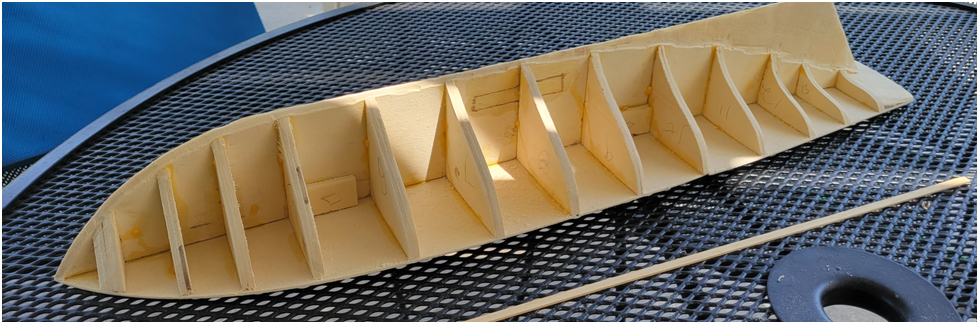
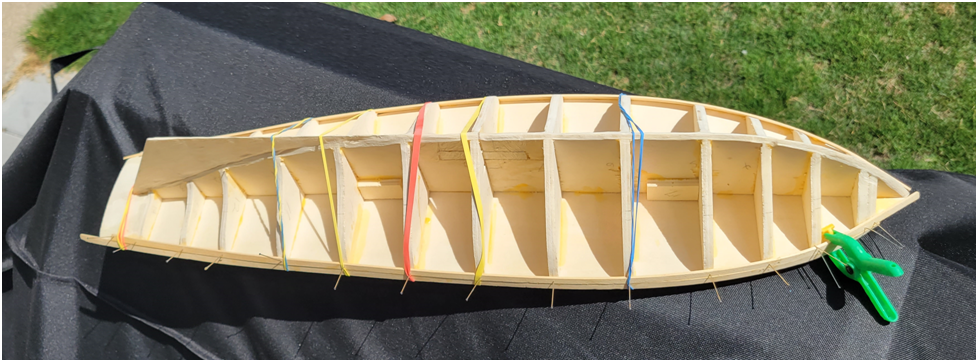
I started, of course, with assembling the Hull strcture and ran into problems right away.
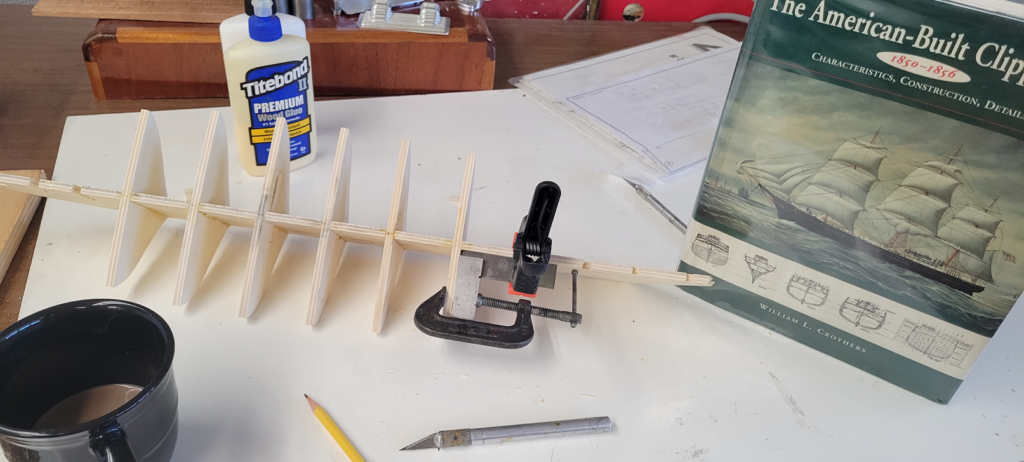
The plywood used for the false keel and bulkheads is a 1/4″ thick, but the slots used to slide the parts together were less than this; the bulkheads were an overly tight fit on the flase keel. I ended up using a rubber mallet to pound the first one into place. An assembly step requiring a hammer should have been a red flag, but I soldered on and forced the bulkhead into place. This of course warped the keel out of the straight. But, even though this was a test fit and no glue was used, I could not remove the bulkhead and ended up busting the keel in half.
I repaired the keel in an equally brutish manner, widened all of the slots with a dremel, and gave assembly of the hull another go. This time I used a square to hold the bulkheads in position, and was pleased with the results.
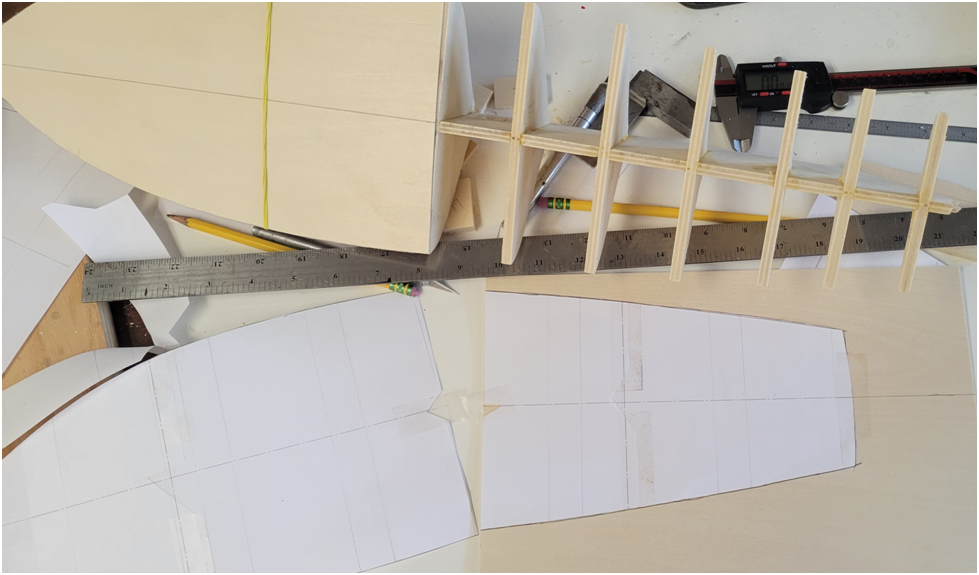
Before I publish an update on my progress, I need to ask a question. My research on this type of ship shows that the deck planks were generally 6 inches wide, which at my scale is 3mm. But the kit supplies .5mm X 5mm X 640mm Mukali strips for the deck planks. This is too wide. I really like the look of the Mukali wood is has a sheen to the grain reminiscent of some types of maple. I am not sure I can rip them down to 3mm wide as they are so thin, and if I do I won’t have enough material. The deck is about 80,000 sq. mm and the kit provides 100,000 sq mm of Mukali wood for this purpose, but if striped down to 3mm would only be 60,000 square mm. Not enough.
So I am looking for recommendations. Just go with the 5mm? Use an alternative wood? I don’t think I can get Mukali veneer. Strip the Mukali down and mix in some other wood? Might look cool.
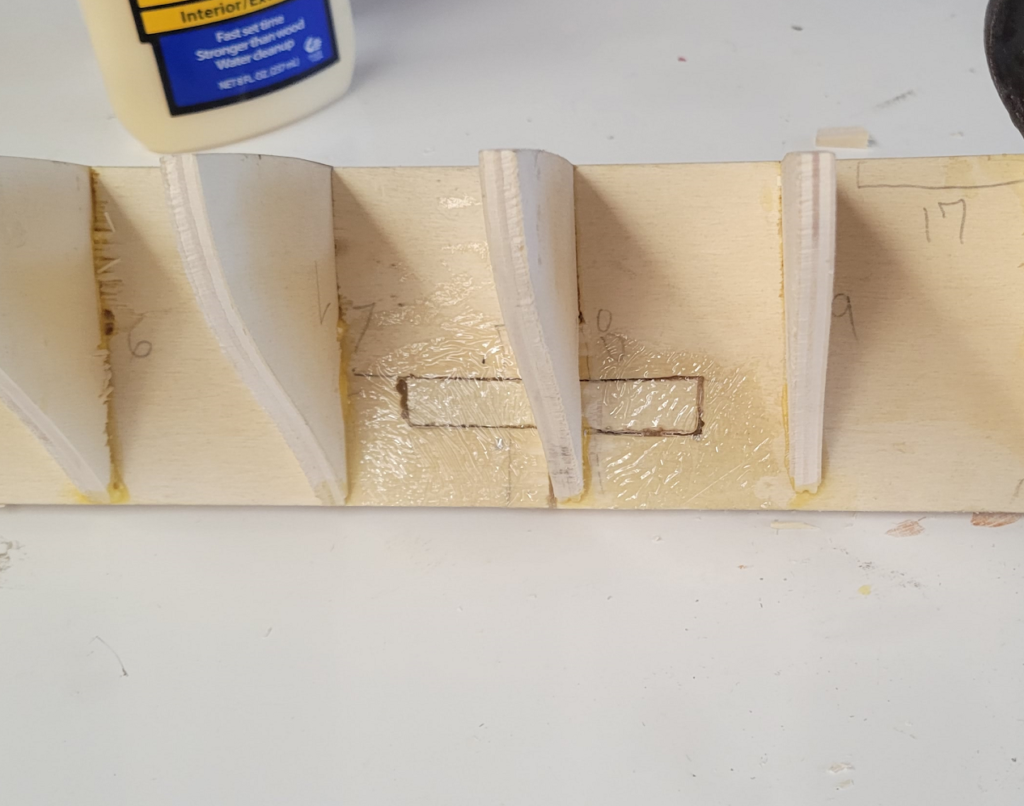
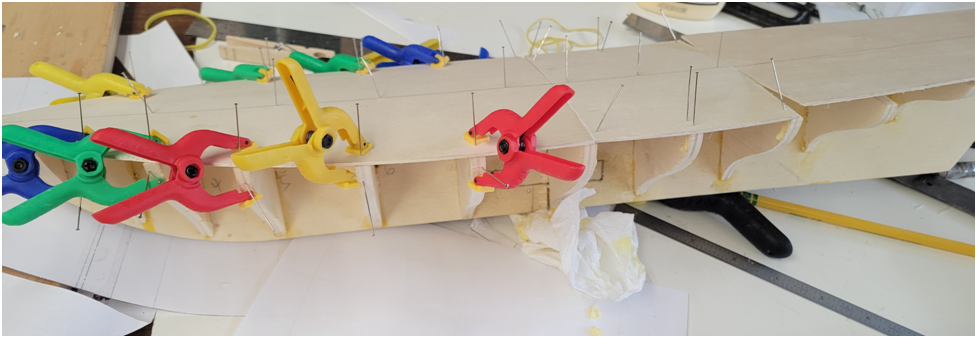
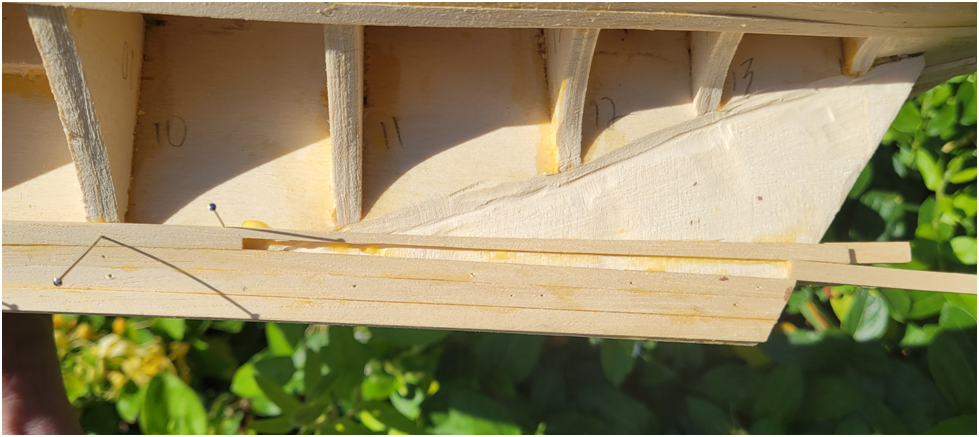
One problem with building such an old kit is that some of the parts are missing. My kit no longer has the 1.5mm plywood false deck. I bought some 1.5mm plywood on Amazon, then took measurements at the bulkheads and laid this into a CAD program.
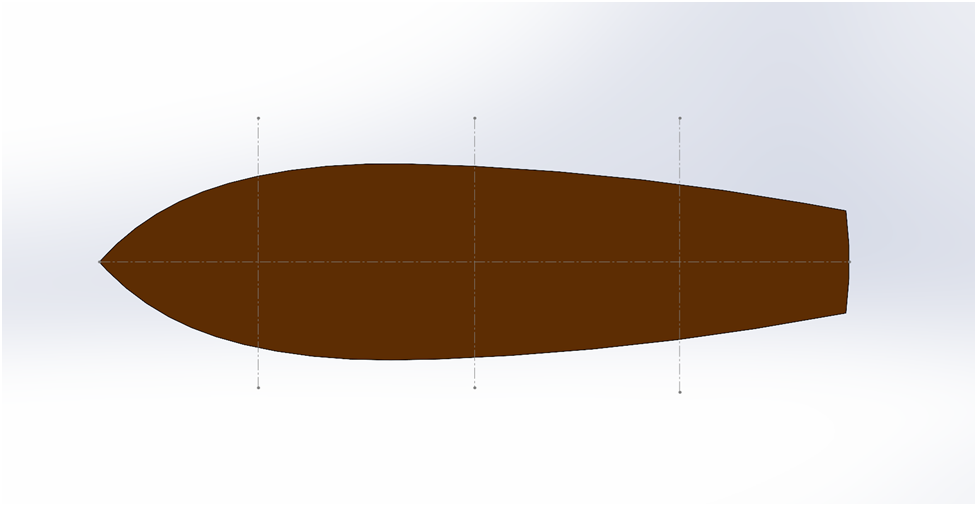
Then I printed the pattern out, traced it onto the plywood and made the false deck.
Below I am gluing the false deck into place.
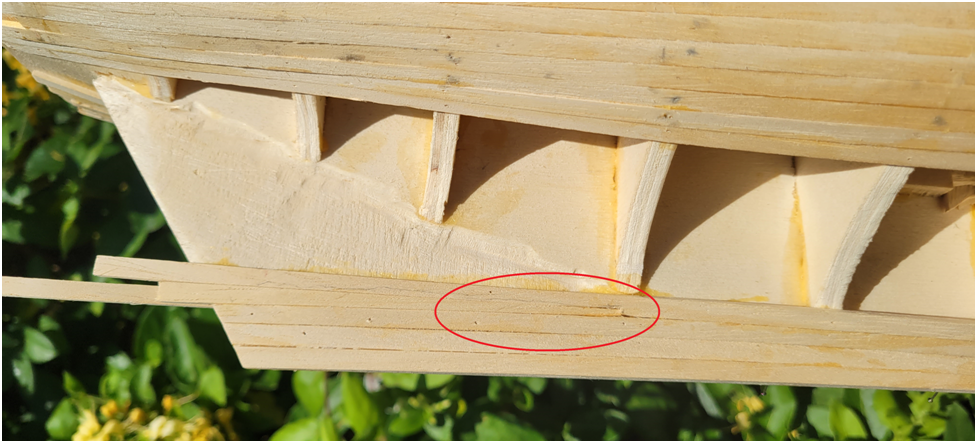
Next I used a compass to mark off how much of the bulkhead needed to be removed to properly shape the hull. I used a little Dremel drum sander to remove the material.
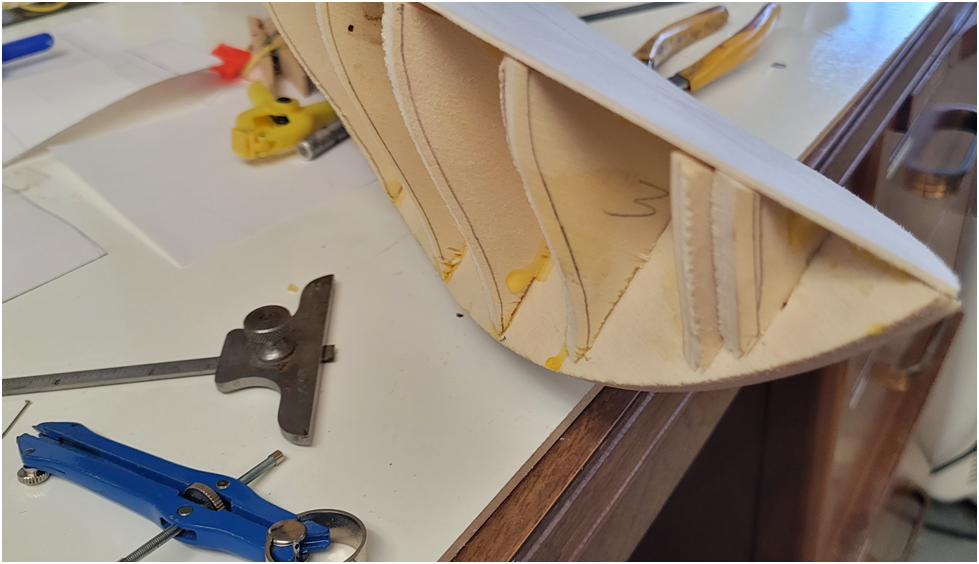
I want the full planking to blend into the width of the keel as if there were a rabbet. The false keel is 1/4″ thick as is the true keel. So I needed to thin down the false keel so two layers of planking on both sides result in the 1/4″ thickness of the true keel. I was not sure how to do this with a smooth taper and may have hacked the keel up too much. We will see when the planking goes on.
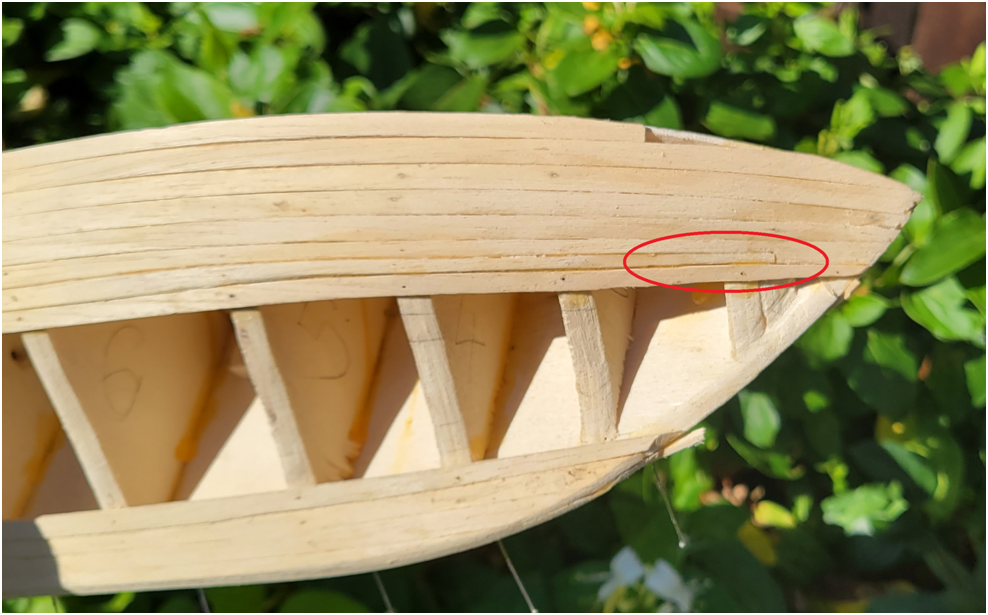
And finally I have started laying down the first layer of planking. I started with the sheer strake. I used water to soften the planks, clamped them down to the table to the desired shape and let them dry. But when I pulled them up, they did not retain this shape and just sprung back to their original straightness. I have some work to do on my bending technique, maybe I need to use heat like an iron. Fortunately the limewood used in the first layer is very pliable.
I started using Titebond Transparent white glue as I thought it would clean up easier, but it took too long to cure and was not that strong. I switched to my go to wood glue, yellow Titebond II which cures quick and hard, but is so hard to sand its a mess if you do not clean it up as you go. As I glue the strake into position I use a paper towel and a wet paint brush to get off as much excess glue up as I can.
I bought some white holly for my deck and will make the deck planks closer to scale than the strips that came with the kit. (I ended up spending $60 once tax and shipping was included) My plan for the hull is to plank the model in two layers per the instructions in the kit. I am not bold enough yet to deviate significantly from the plans. The second layer will be the mahogany supplied in the kit, then I will paint the hull black (lamp black :-)) above the water line and leave the mahogany bare below the waterline. I am using the first layer of planking as a learning experience, experimenting with marking out the plank locations, bending planks, thinning them, pinning them and placing stealers.
I am now comfortable with bending the planks, but these limewood planks are easy to bend and are probably not representative of a true model plank I bet. I wet and then clamp them to a flat piece of plywood (my bending station ;-)) and let them dry in the sun.

I take back what I said about not deviating from the plans. There are a couple of “Latrine Heads” near the bow, they look like big out houses standing up on the deck. I have not been able to find any reference to these in my reading, I think they look out of place, and I will do away with them. Usually the “seats of ease” were place up on the level of the beakhead deck grating, outside the hull, and were basically wide planks with open holes in them. I guess the term “the head” was derived from the fact that this area was between the headboards.

Below are some pictures of my planking efforts highlighting the stealers.
I know I am not being very efficient in my planking. I form and install a single strake, then let it dry. I assume a more experienced modeler would do multiple strakes at a time.