Pistons and Rings
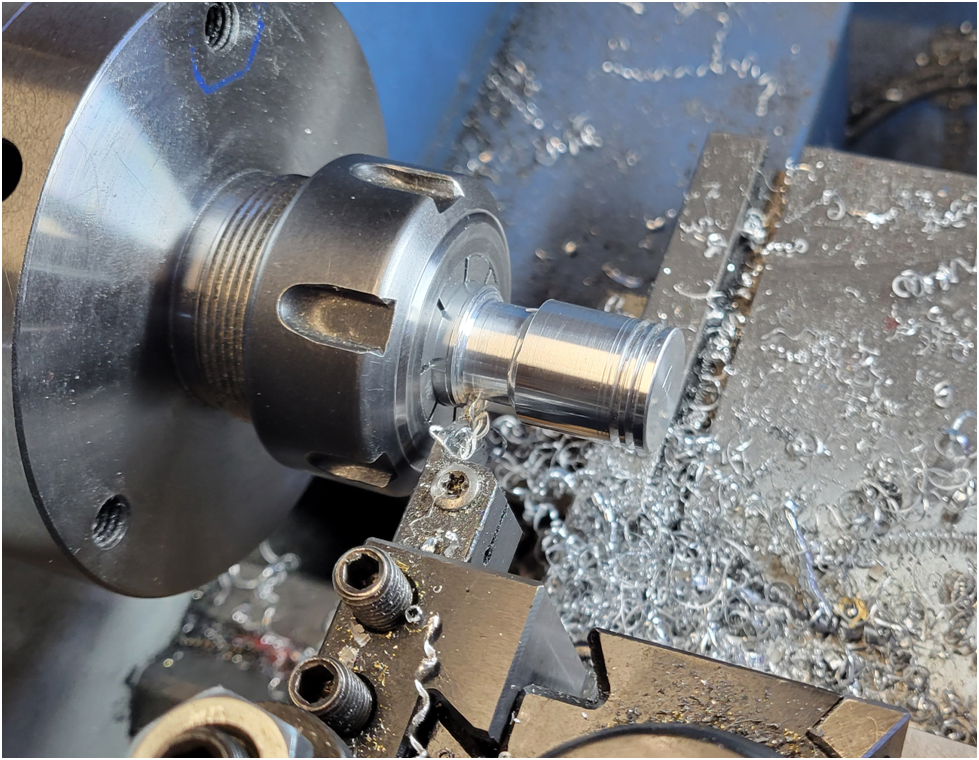
I like to make my cylinder sleeves first, then my rings to match, then finally my pistons. I do this so each matches its predecessor if there are any discrepancies. This time around I did a good job of making the cylinder sleeves match, only one was different and it was only by .001″. I made 13 rings, needing only 8, with all spot on the ID and OD. But I did not do a great job repeating the height of the rings, this is due to my skill at repeatable setting the zero point on the lathe carriage or the positioning of the cut off tool. I use the razor blade zeroing method, but any way I had a variation of .0299″ to .0342″. I made my pistons match the cylinders and the piston grooves match the ring’s height.
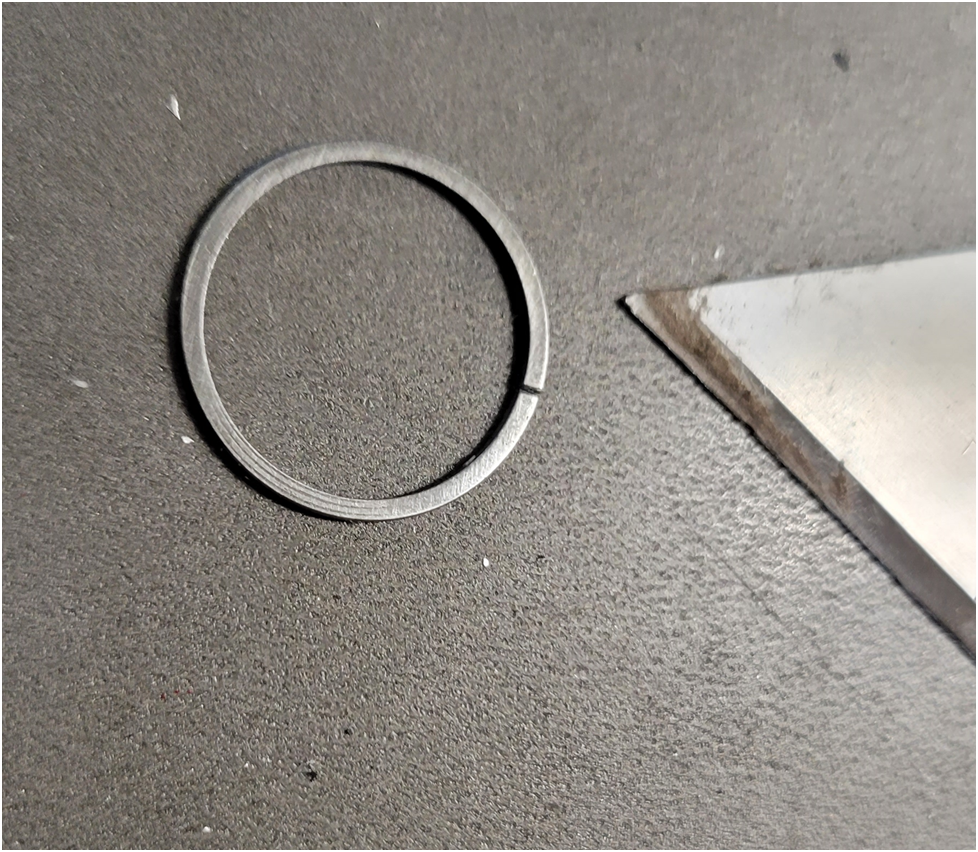
To cleave the rings, I put a piece of tape as shown below and score the top and bottom with the fine edge of a diamond file. The tape helps align the scoring on the top and bottom, I rest the file against the edge of the tape and drag the file.
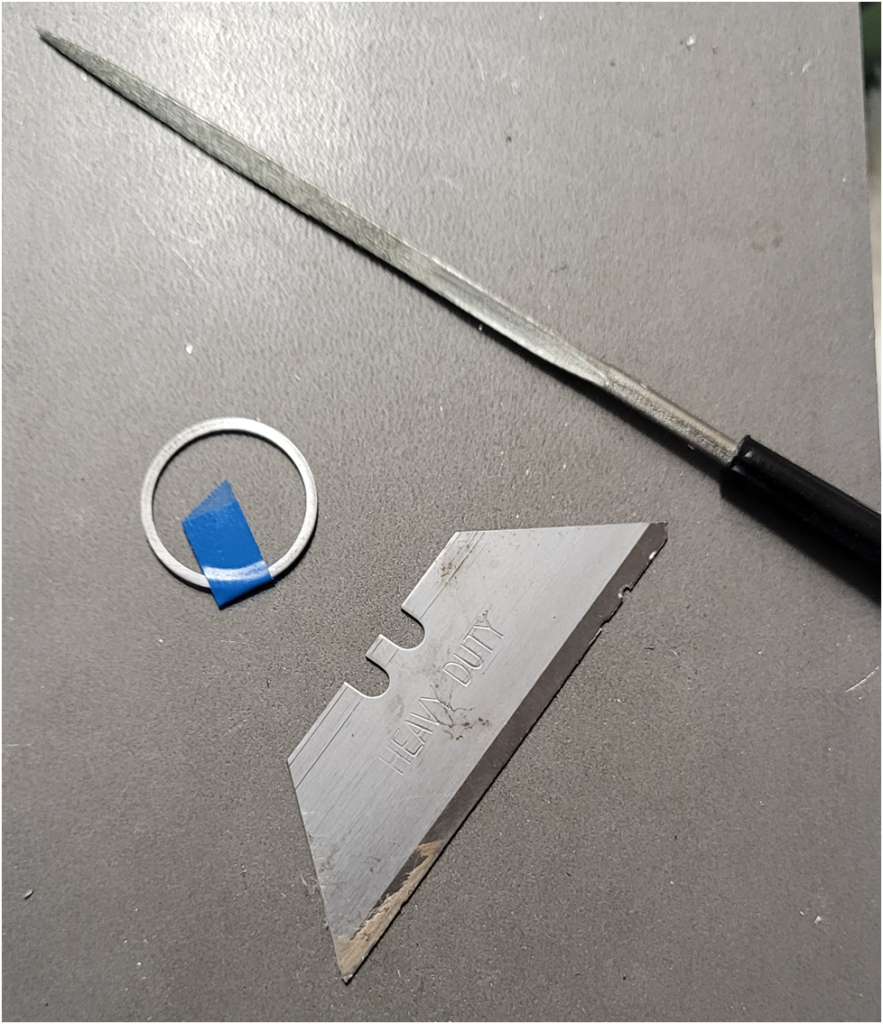
I use a razor blade and a slight tap with a hammer to cleave the rings at the score mark.
I then measure and sort the rings, light test them, and assigning them to cylinders. I turn the pistons matching the ring grooves to the rings.
When I heat treat the rings I first heat them to about 400 degrees F, pull them out and coat them with a slurry of Boric Acid and Isopropyl Alcohol. The alcohol boils off and leaves a nice crust of the Boric Acid. the picture below shows the rings in the stress relief fixture after heat treat. The rings are protected from oxidation.
Below is another picture after the fixture and rings have been soaked for a minute in boiling water. the Boric Acid dissolves revealing the finish on the rings.
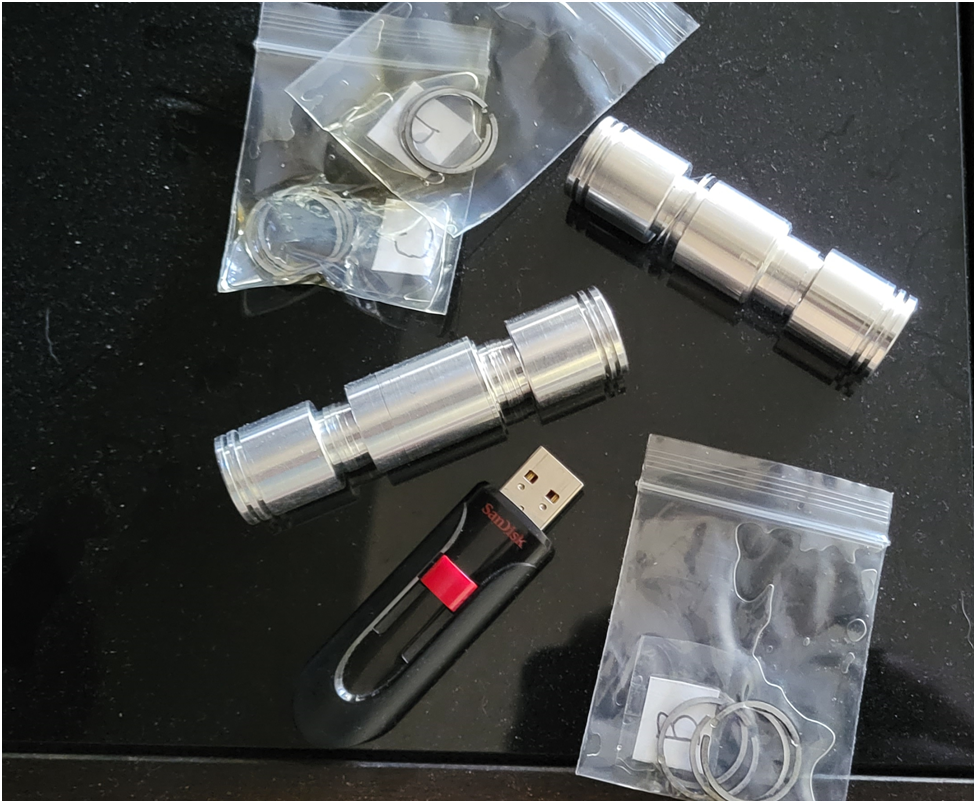
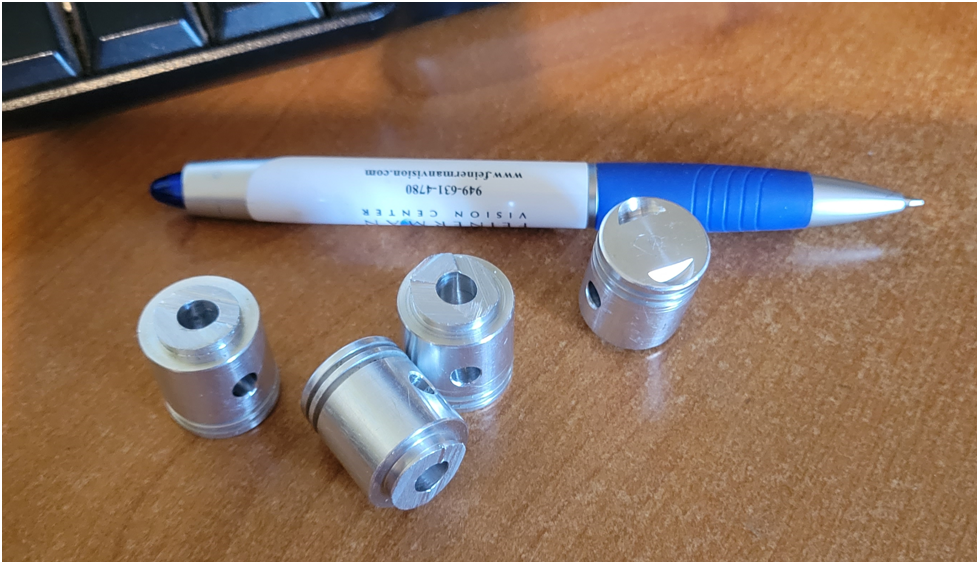
Below the sorted rings and pistons still attached to the work piece. the rings are stored in bags with labels and some oil to prevent rust.
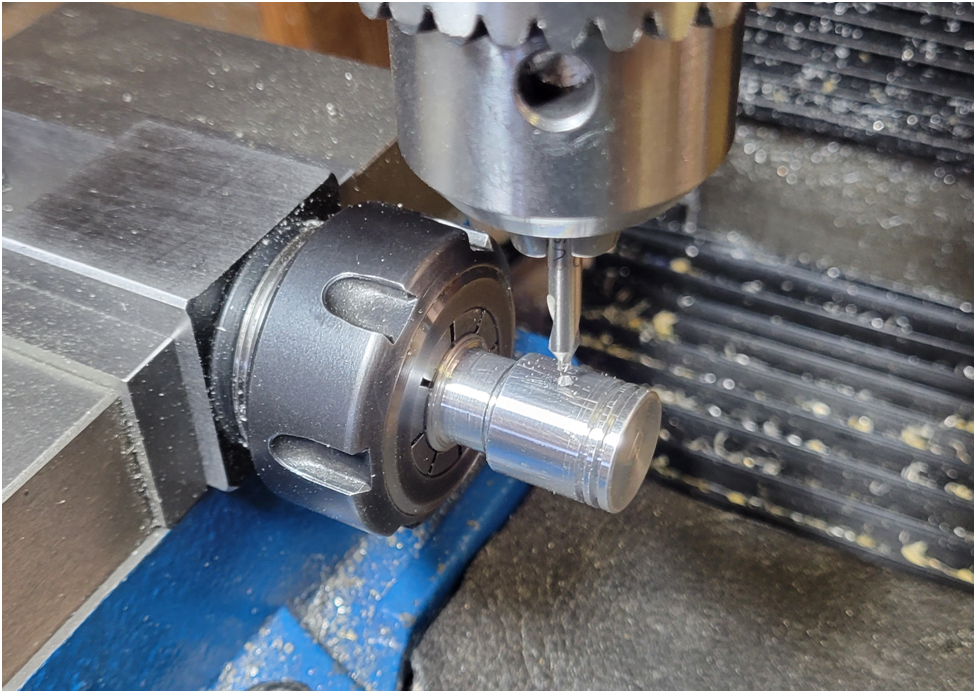
Below I am using the mill to drill the piston pin hole.
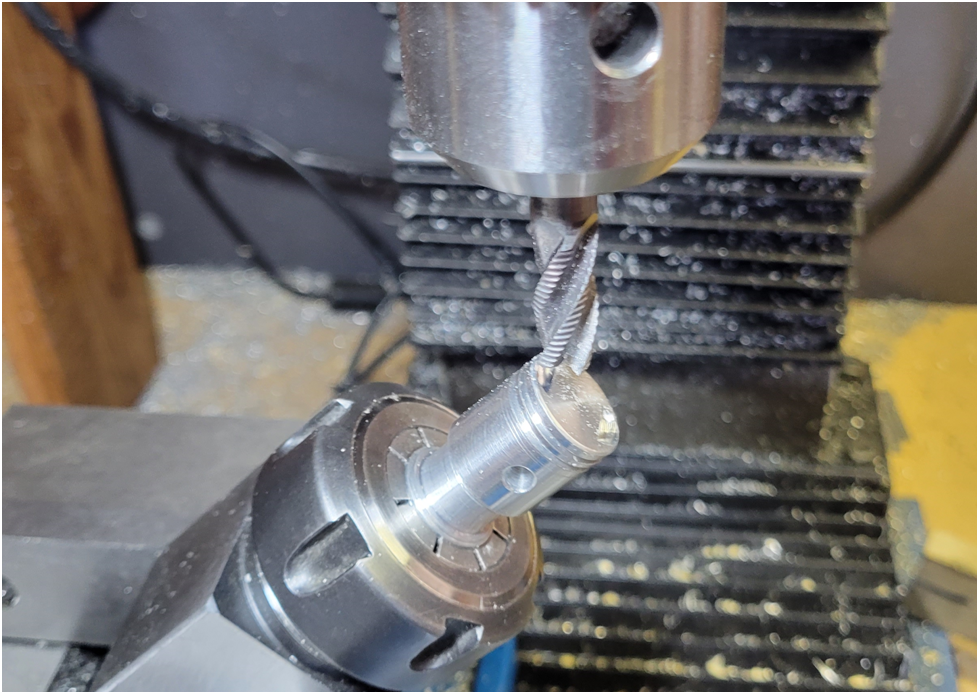
And below I am removing some material from the top of the pistons to clear the valves in an excess of caution.
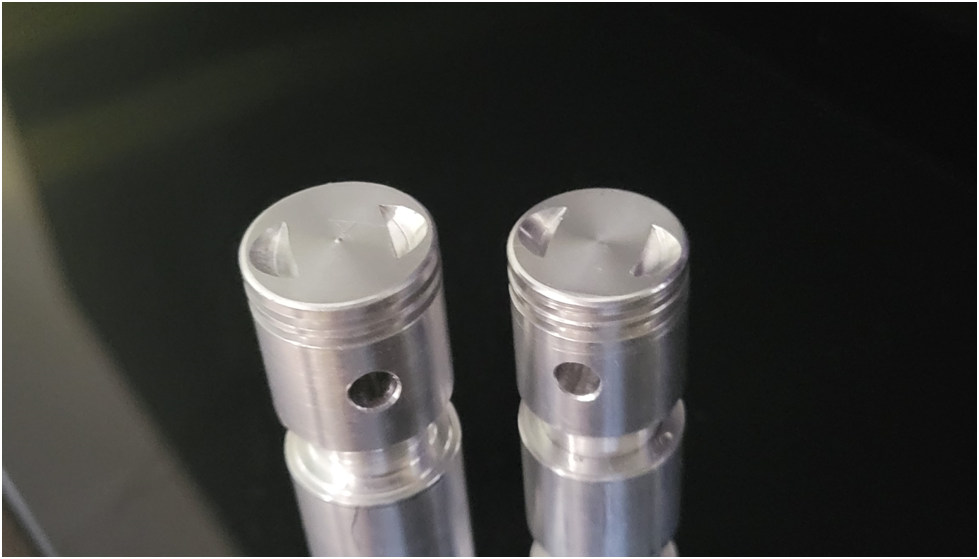
then I remove the pistons from the work piece and drill 1/4″ holes down in the bottom of the pistons to ease the machining that will be performed on the CNC.
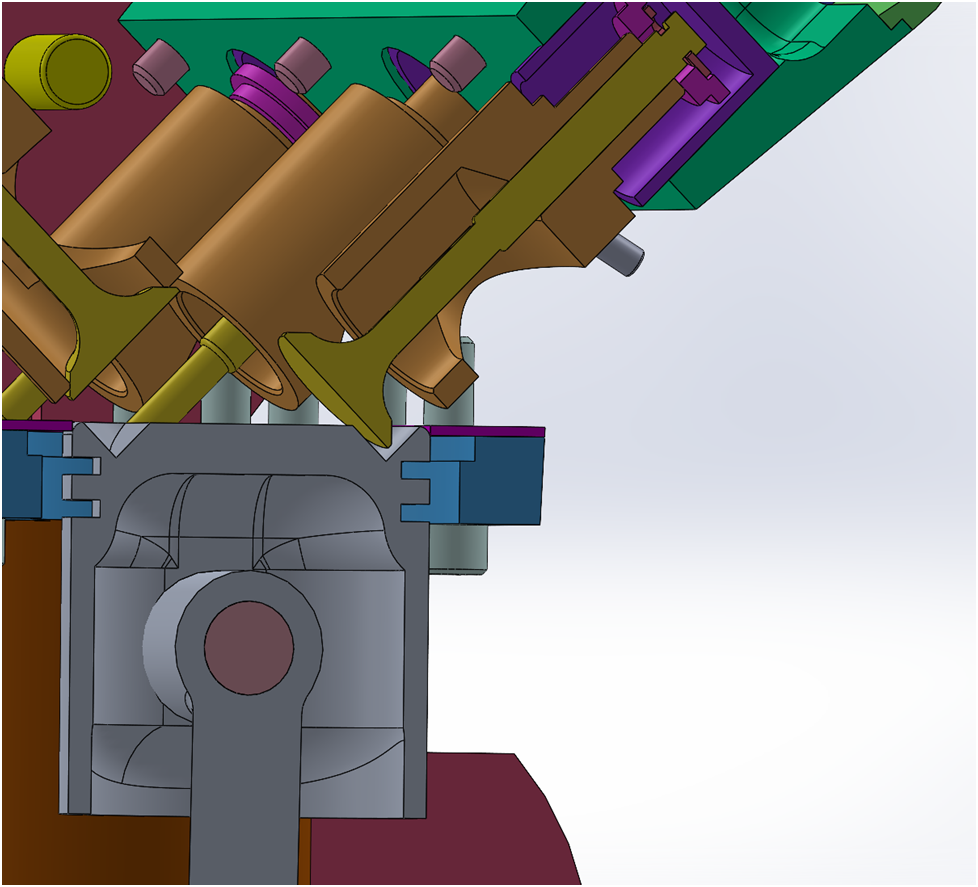
Below is a cutaway of the piston showing the internal cut out required to leave enough material for the rings. Also is shown the worst case valve piston clearance.
Then the tool paths are created and simulated:
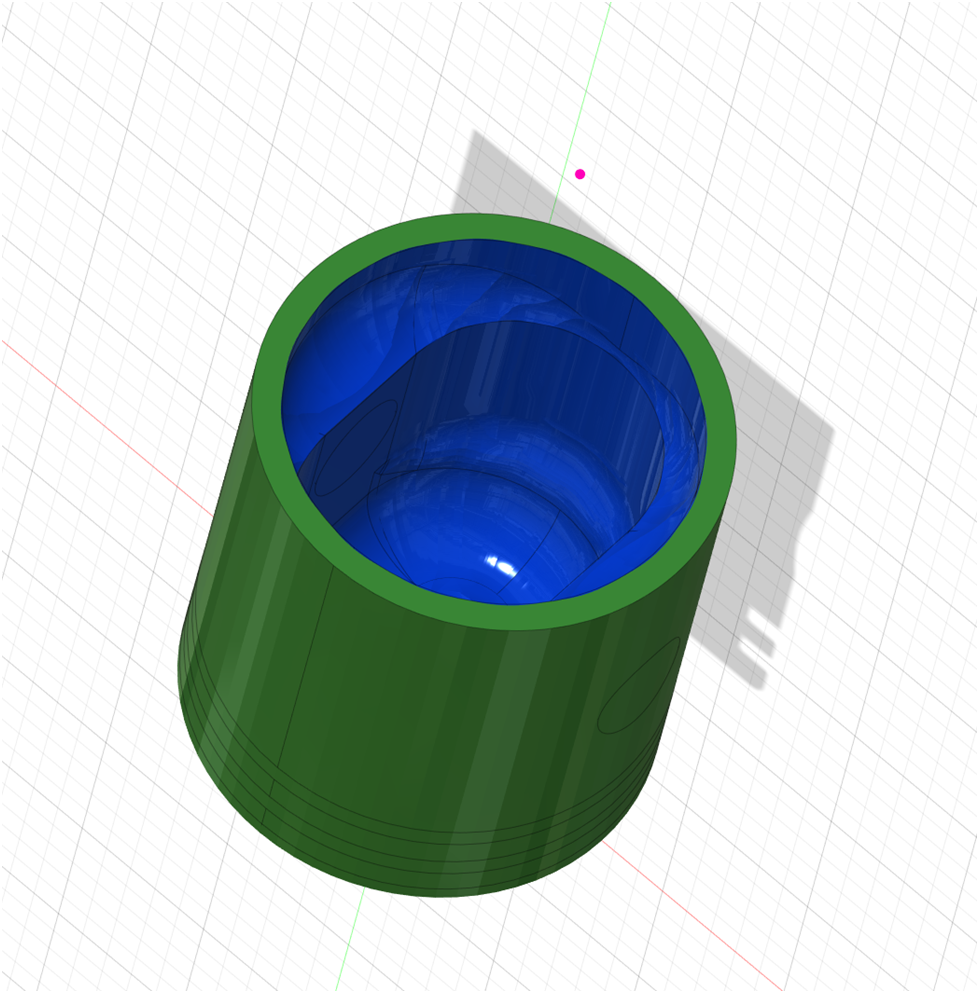
Next I will finish the inside of the pistons on the CNC router.
——————————————————————————————————–
Below is a summary of the steps I use to make piston rings:
- I put the cast iron slug in a 4 jaw chuck for the max gripping power and rigidity.
- I turn the ring blank down, leaving 300% material, so instead of .050″ thick, I turn down to .150. So, for a 1″ internal cylinder bore, the ID of the blank would be about .9″ and the OD would be about 1.05″
- Pull the blank out of the lathe and Stress Relieve in the heat treat oven – 1000 to 1050 degrees F for an hour and a half.
- Furnace cool to less than 200 degrees F before air cooling the rest of the way down. Usually I just leave it in the oven over night.
- Put back in the 4 jaw chuck centering as well as possible. Turn the ID on the ring blank to final dimension, then turn the OD to final dimension. Finish the OD with emery paper.
- Part the rings off.
- Wet sand (with light oil) on a piece of glass with 400 then 800 grit paper to clean up edges and get to proper height.
- Cleave the ring gap. I lightly score the top and bottom of the ring with a fine file, then use a razor blade to cleave the ring. I hold the razor blade so its cutting edge is in the filed groove, then tap the back of the razor blade to cleave the ring.
- Use a fine diamond file to clean up the gap and get it to .004″ in the cylinder sleeve using feeler gauges.
- Use an Arkansas sharpener’s ceramic rod to clean up inside edges.
- Clean the rings and the heat treat fixture with acetone.
- Clamp rings into the heat treat fixture. Clamp means finger tight, everything will expand with the heat.
- Set the heat treat oven to 1050 degrees F and place the loaded ring fixture into the oven.
- When the oven reaches a temp of about 300 to 400 degrees, pull the fixture out of the oven and rub a slurry of boric acid and isopropyl all over the exterior of the rings. This does a good job of preventing scale, it is easy to see where you miss a spot after treating.
- Stress Relieve the rings in the heat treat oven – 1000 to 1050 degrees F for an hour and a half. (my reference is the study performed by the Naval Research Laboratory on stress relieving cast iron dated 1948)
- Furnace cool (over night) to less than 200 degrees F before opening the furnace.
- Remove the fixture and drop into a tin can of boiling water to remove the boric acid.
- Lightly scotch brite the rings exterior, then remove them from the fixture. Clean the rings as necessary.
- Perform Terry’ light test to determine the quality of the seal of the rings against their cylinder sleeve.
- Measure each ring, note in the log, coat each with light oil, and place into labeled zip lock bags.