Machining the sides of the crankcase was straight forward, but a little nerve wracking as the number of hours invested has grown and the anxiety of messing up has increased proportionately. Below the crankcase is being rough machined. The crankcase is assembled with the dummy crankshaft, bearings and most importantly the crankcase gaskets.
Notice how the crankcase is mounted in the vise. The datums being used are the top of the crankcase flat against the primary vise jaw, the forward face of the crankcase covered in layout fluid, and the opposite side of the crankcase mounted down flat against the vise. An aluminum round is used to press the crankcase top against the primary vise jaw to insure this datum is in alignment with the mill.
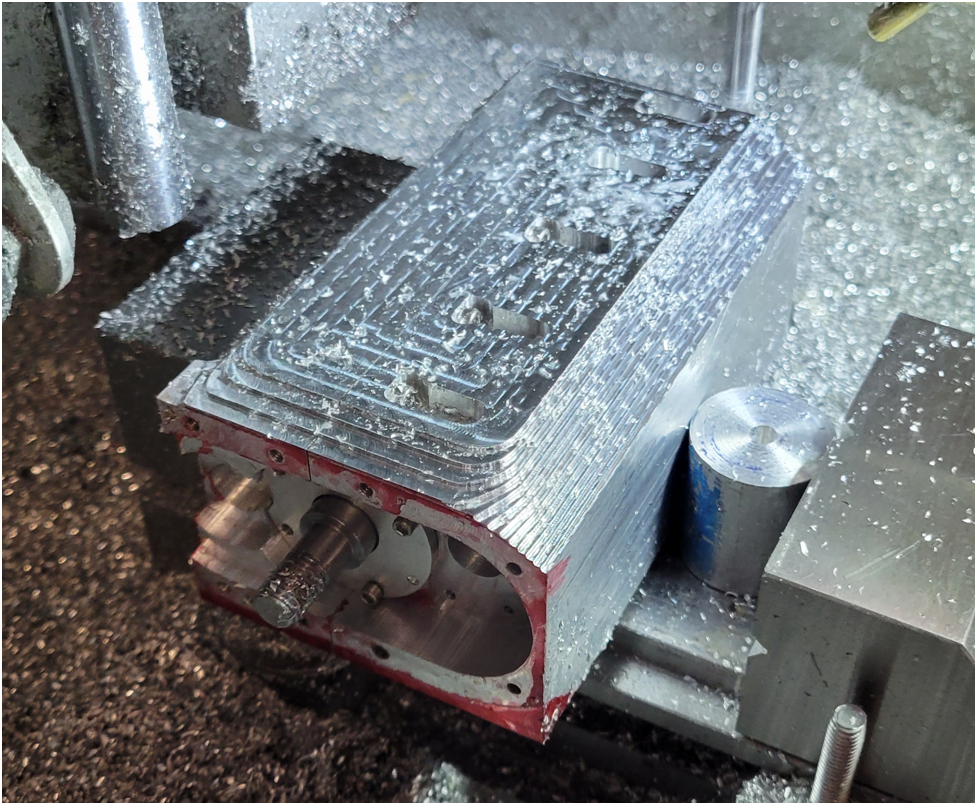
Below the ball end mill has completed the finish milling of the crankcase side and an 1/16″ end mill is being used to “drill” the holes for the crankcase breather plate mounting holes.
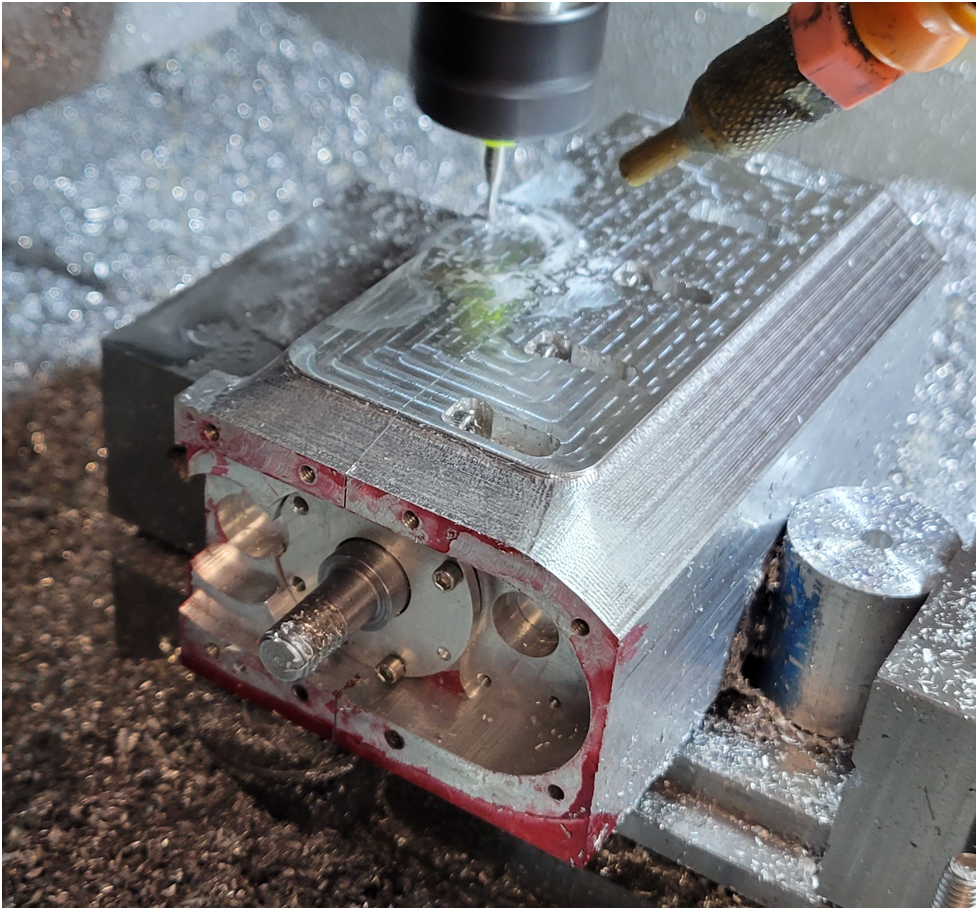
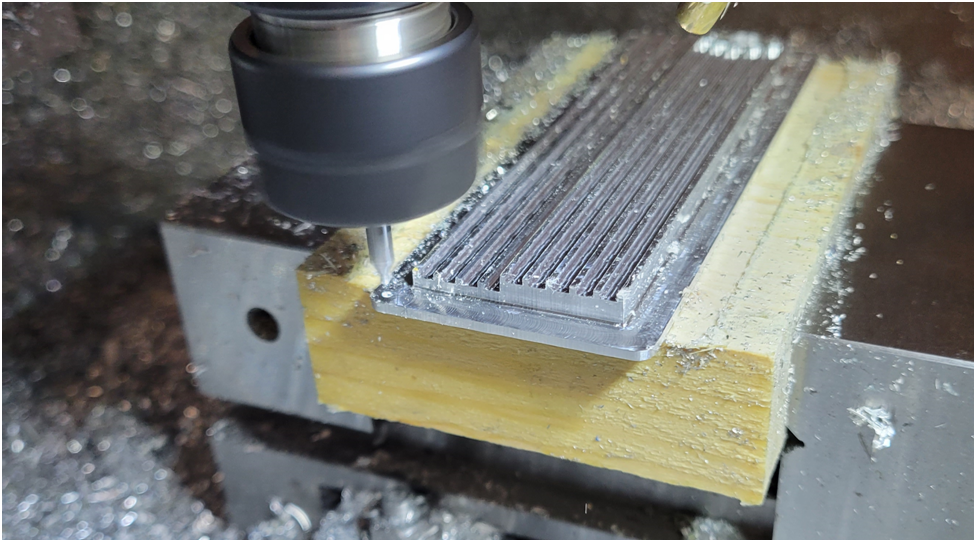
There are two cylinder block covers that mount to both sides of the block. The one on the left side is simply a flat finned plate, but the one on the right has a small water jacket pocket and the fitting for the water flange. After machining the features on the surface, I spot drill the mounting holes. I have not had good luck actually drilling holes on my small CNC router, there is not enough Z height to get a drill chuck mounted. I kludged one up using a standard drill chuck in a collet, but the run out was atrocious. So, for small holes I spot drill, then final drill on the mill, or for larger holes I will simply mill them out with an end mill.
The block side plates are held in place with a large number of 0-80 socket head cap screws, I drill the .070″ holes with the side plate mounted in its final position on the block in the mill vise. That is, I match drill the holes in the side plates and the block at the same time. I had to be sure to install the .020″ head gasket and the .010″ block to crankcase gasket to insure the spacing was correct. I tap the holes in the block and I drill out the holes in the side plates to a .089″ clearance size.
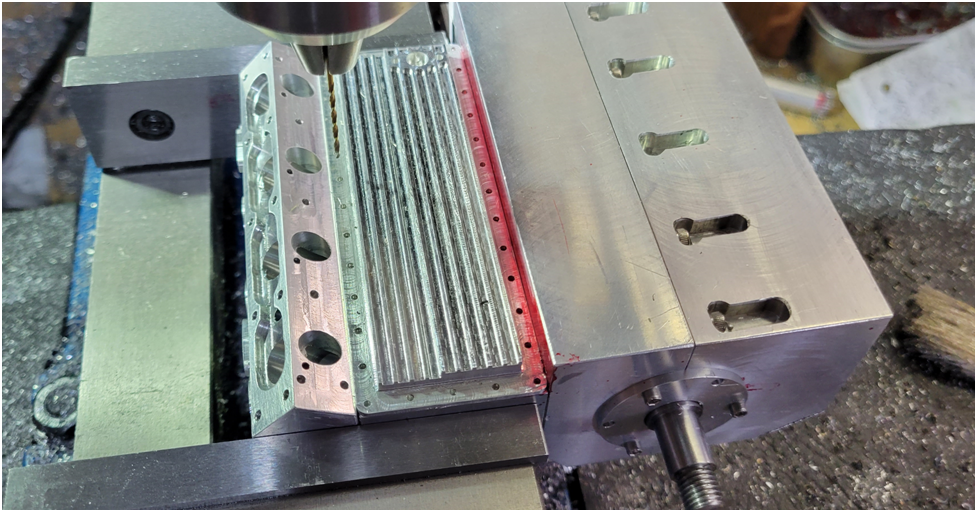
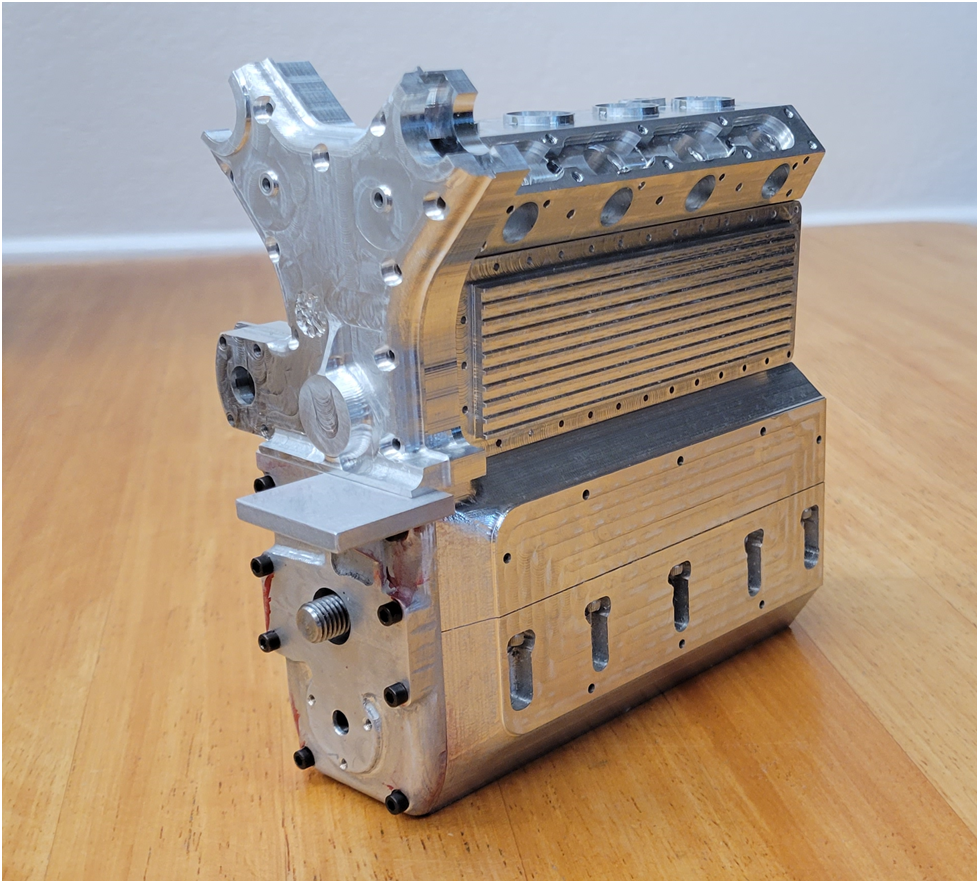
Above is a picture of the engine as it stands now.