
The first run of the Wallaby was done without a distributor, I used two separate ignition systems triggered by the same hall sensor on the fly wheel firing both spark plugs simultaneously. This was just an expedient to get to first run, but now I want to complete the distributor and use a single ignition system.
I planned to machine the distributor body, cover and rotor from Delran, but 3D printed the parts first as prototypes. But the quality of the parts are good enough to use. The distributor body is separated from the engine by the timing case so should not get too hot.
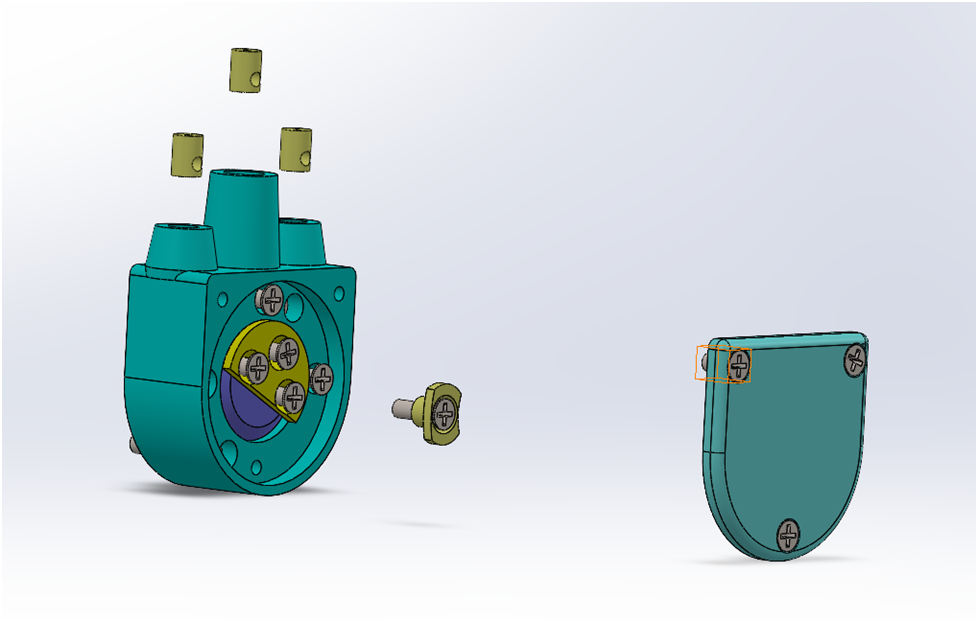
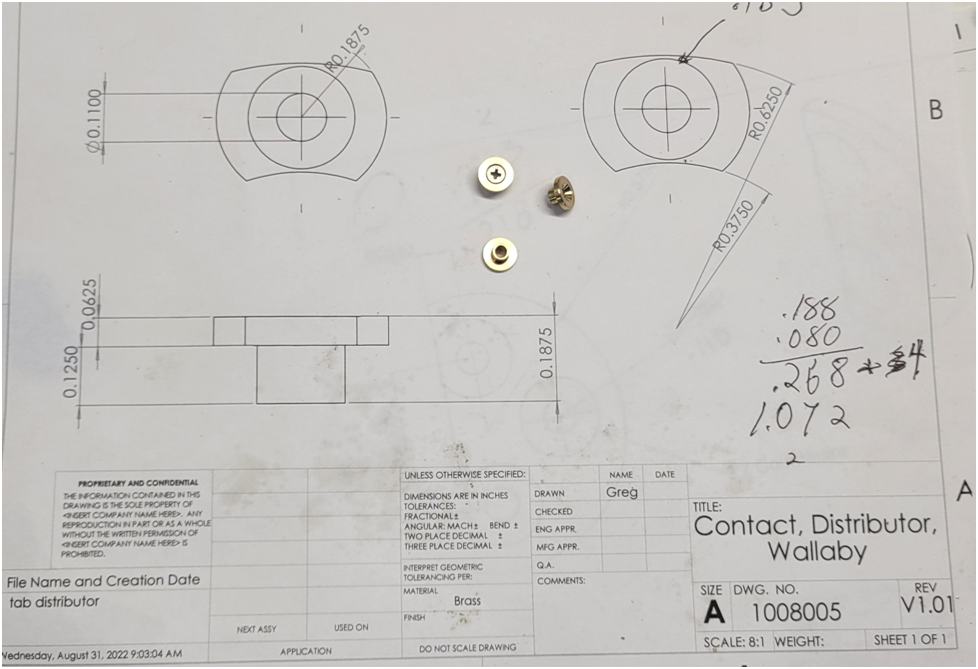
The distributor design is straight forward, the rotor mounts directly on to the end of the camshaft and there are a number of precision brass parts that make up the electrical distribution system.
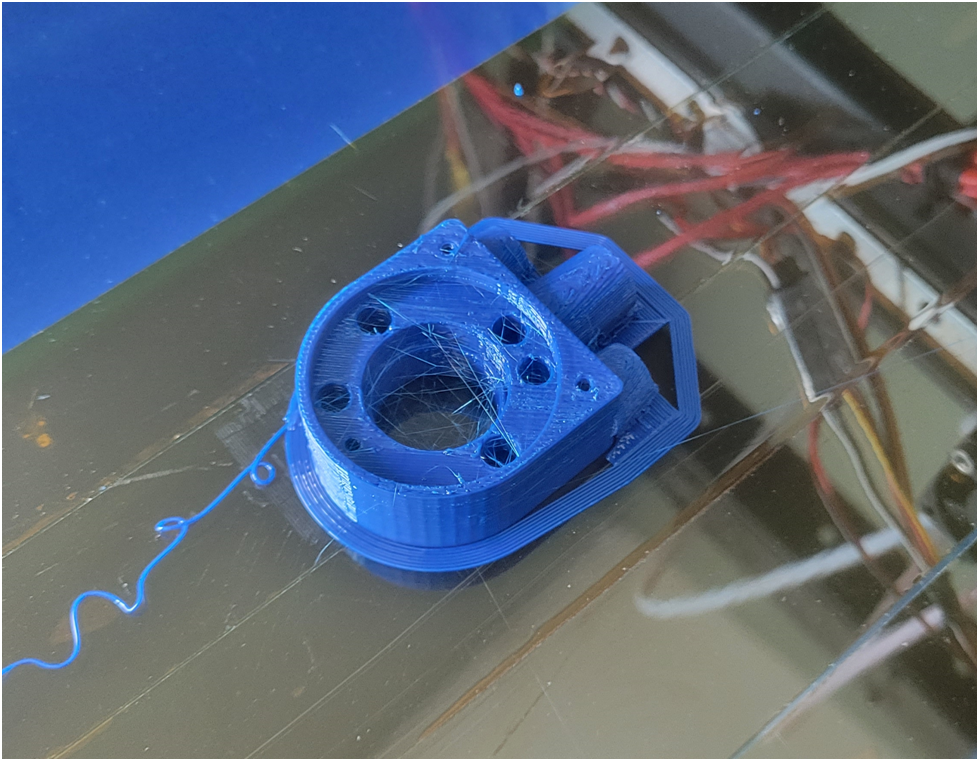
An exploded view of the distributor is shown below. I first printed the plastic parts on the 3D printer.
Below is the Distributor body still adhered to the 3D printer bed. I used ABS filament which does not get soft until 105 degrees C.
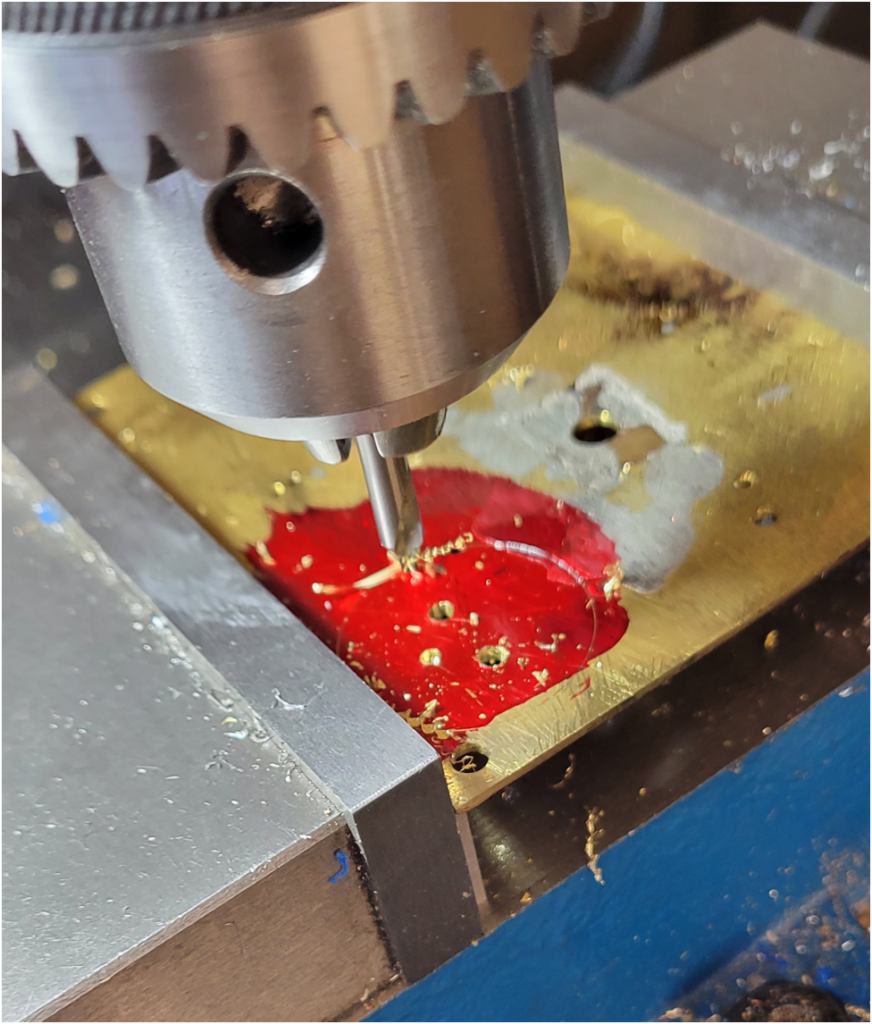
Now its time for the brass parts. I made the center rotor contact by first drilling the three mounting holes and rough cutting the part from a 1/16″ sheet of brass.
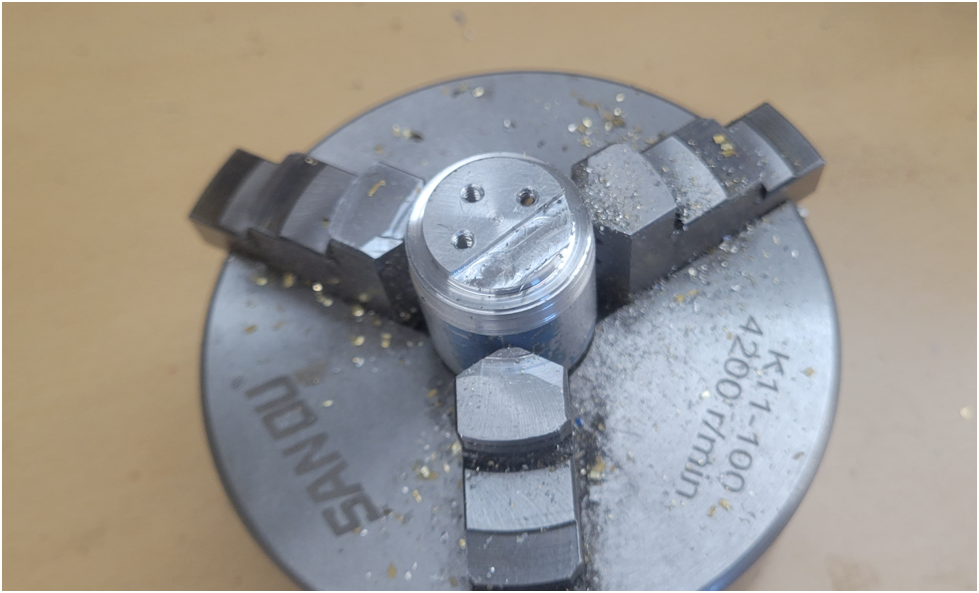
Then I mounted it on a prepared fixture and turned the outside diameter to spec on the lathe. Finally the flat was machined back on the mill.
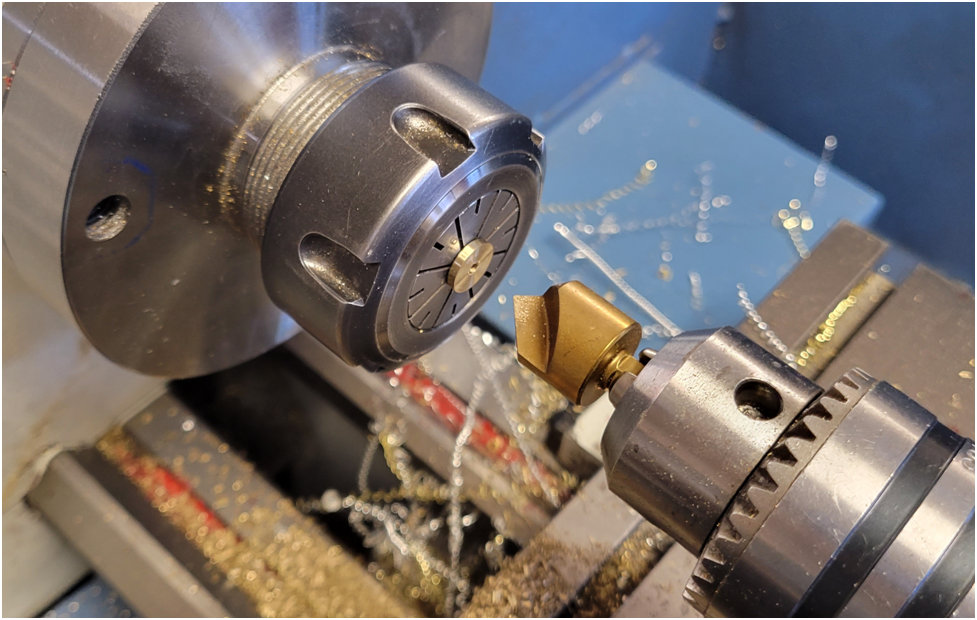
The three mating contacts were first turned on the lathe, the center hole drilled and countersunk.
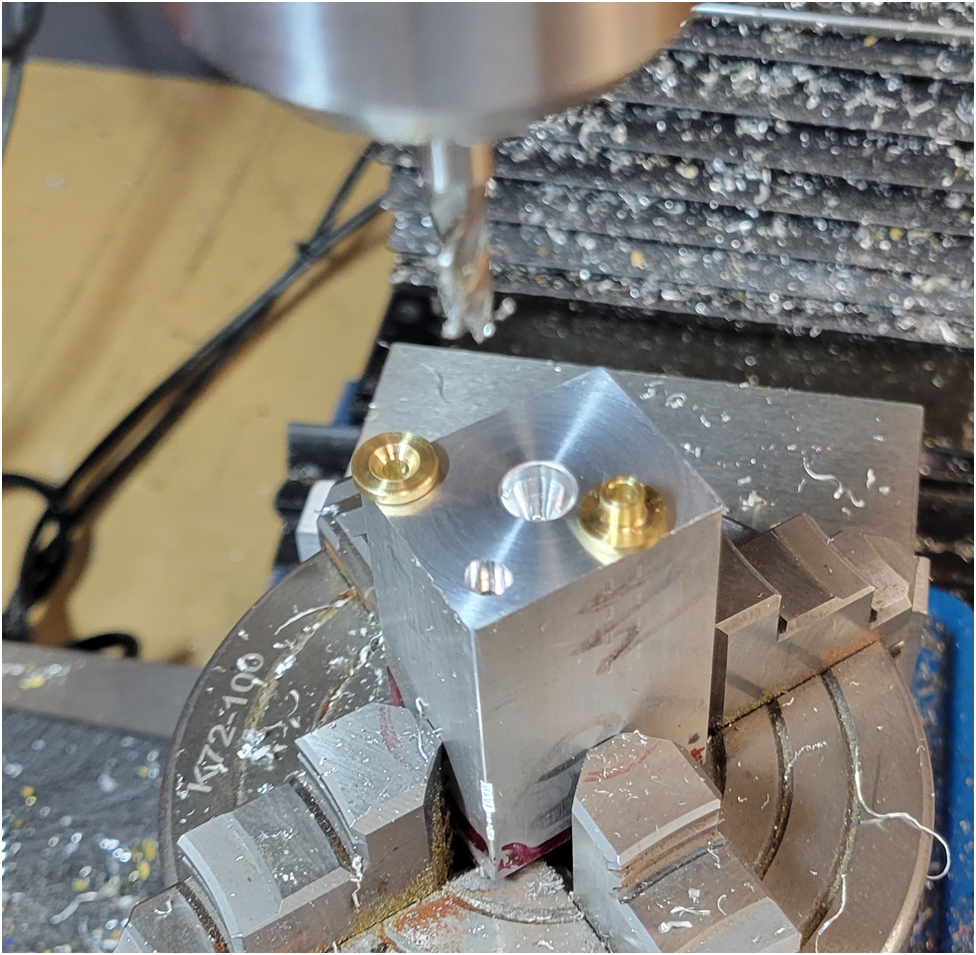
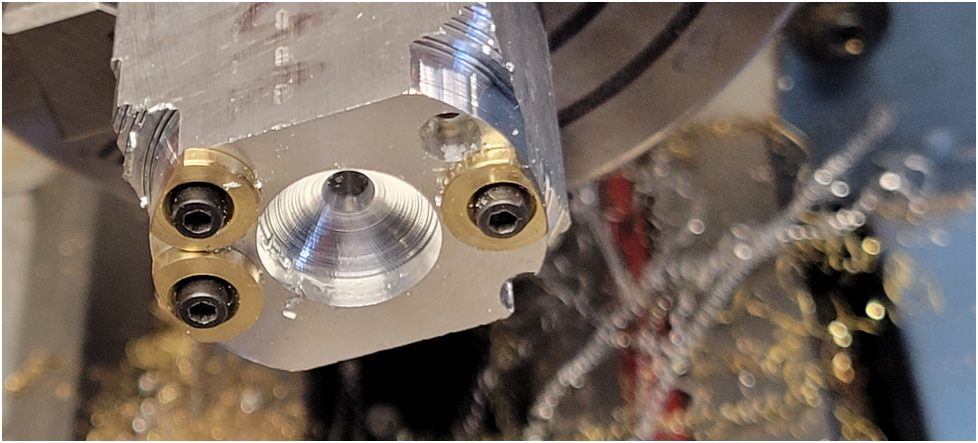
A fixture was made that would allow the inside and outside diameters turned on the lathe. First I turned a bit of scrap aluminum with a center hole for a zero reference point on the lathe, then transferred it to the mill. On the mill I centered the part and placed mounting points for the contacts equidistant from the center reference point.
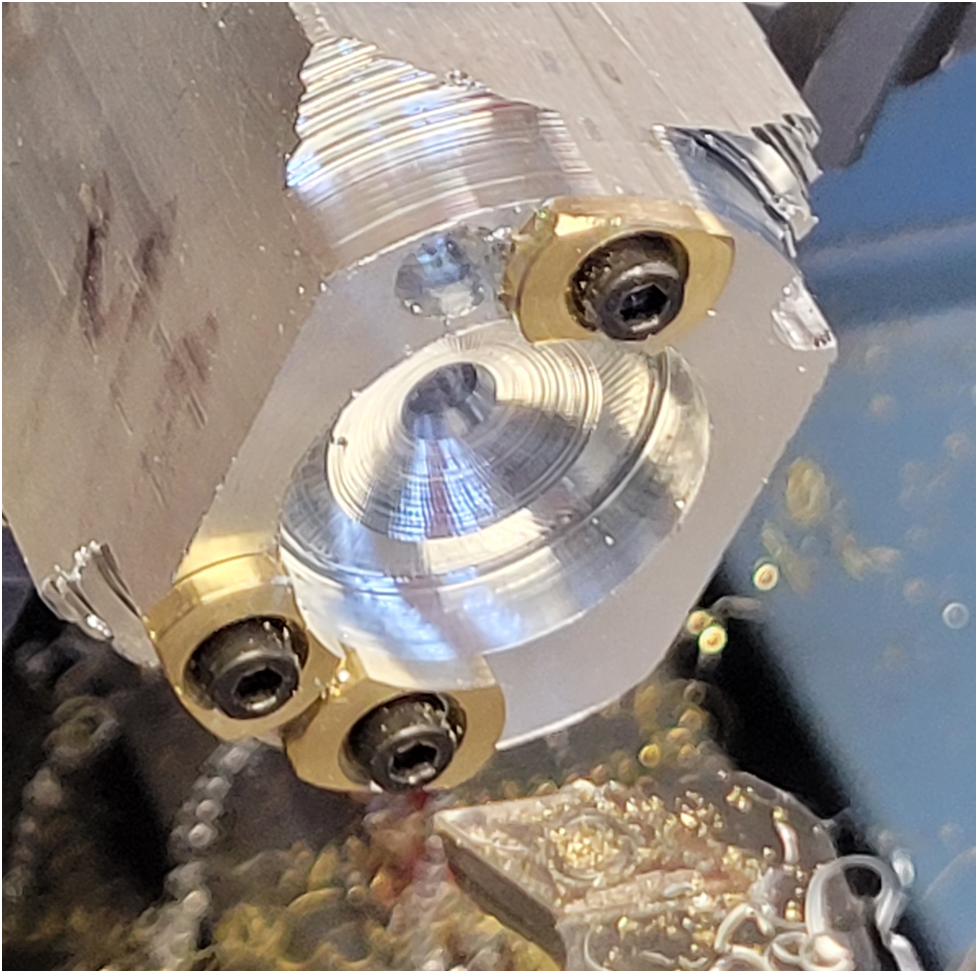
Then back to the lathe where I first turned the outside diameter.
Then bored the inside diameter.
Below is a test fit of the rotor contact.
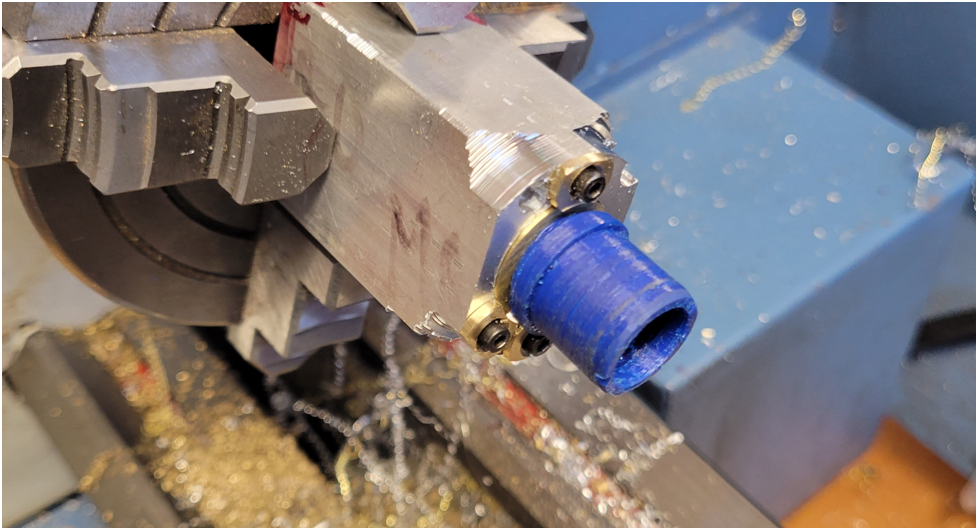
Looks good.
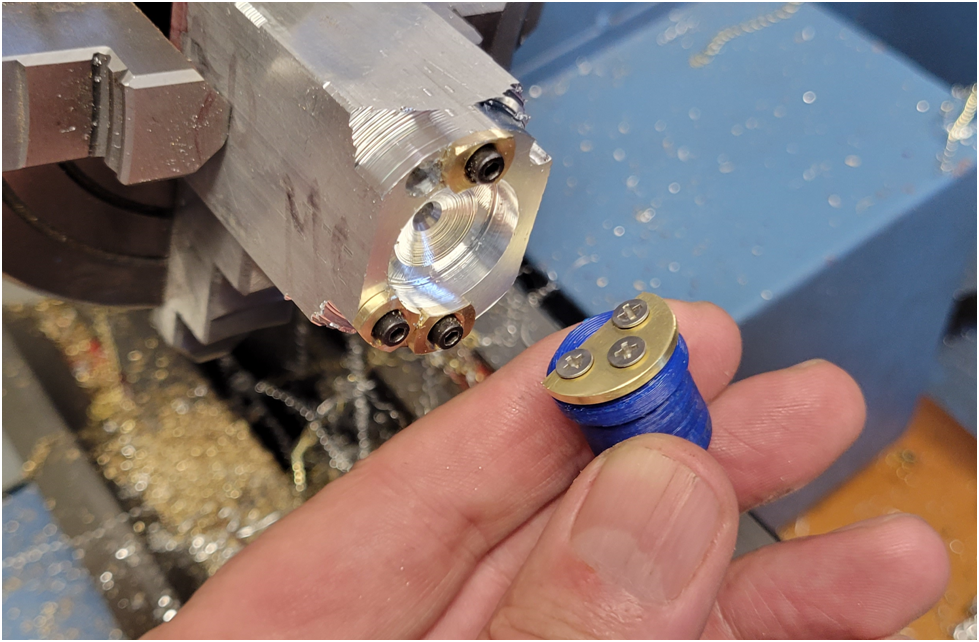
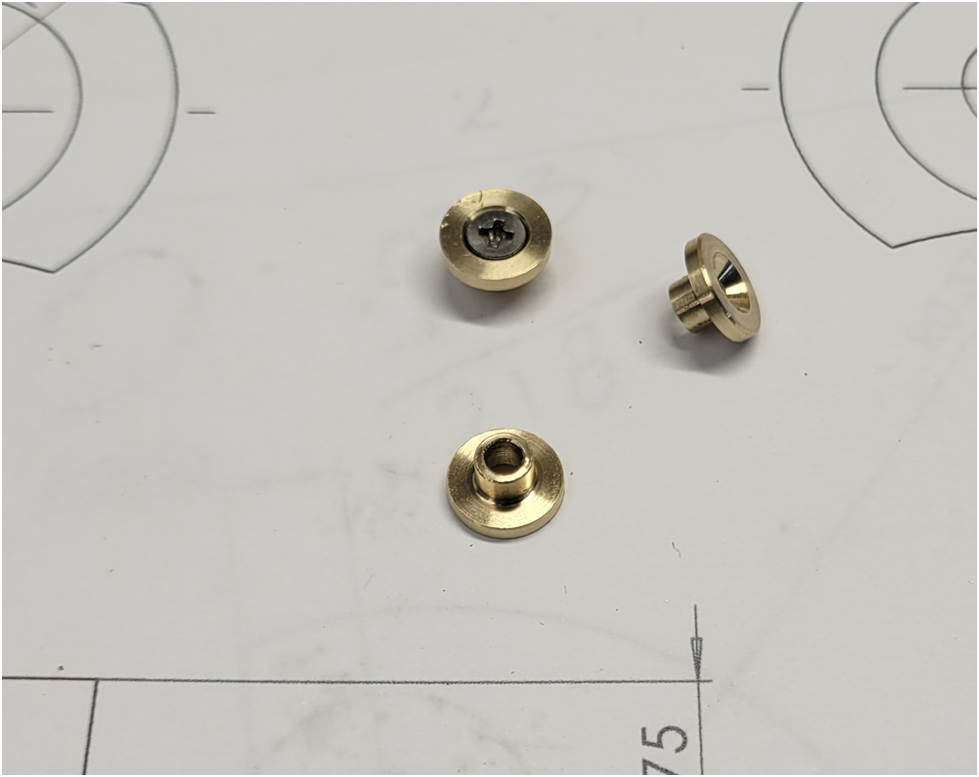
Below are the finished contacts:
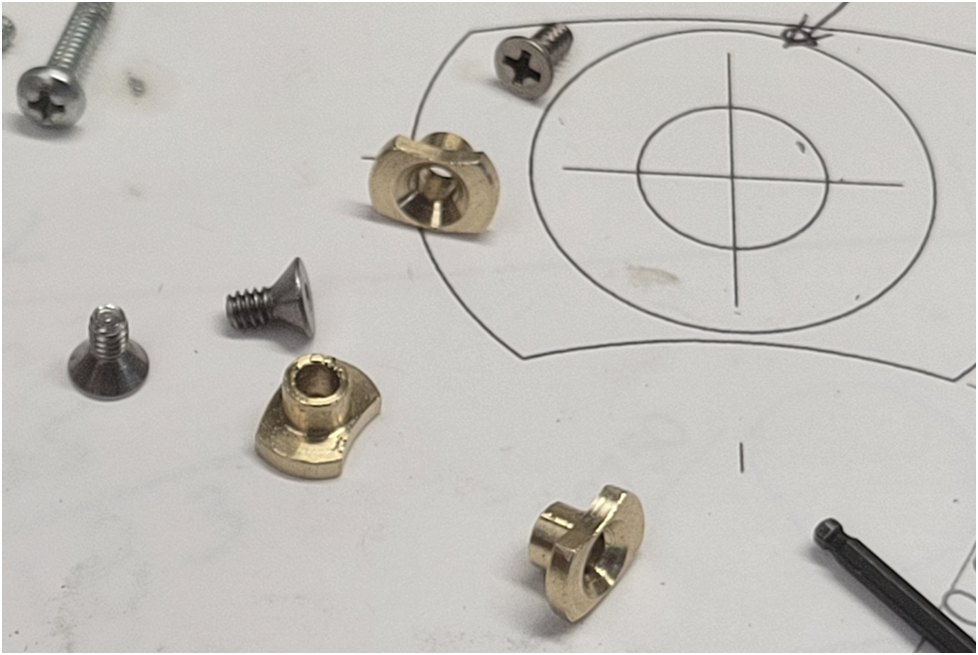
the contacts fit well in the distributor housing.

The wire terminals were then machined. I drilled and threaded the holes in the brass rod first.
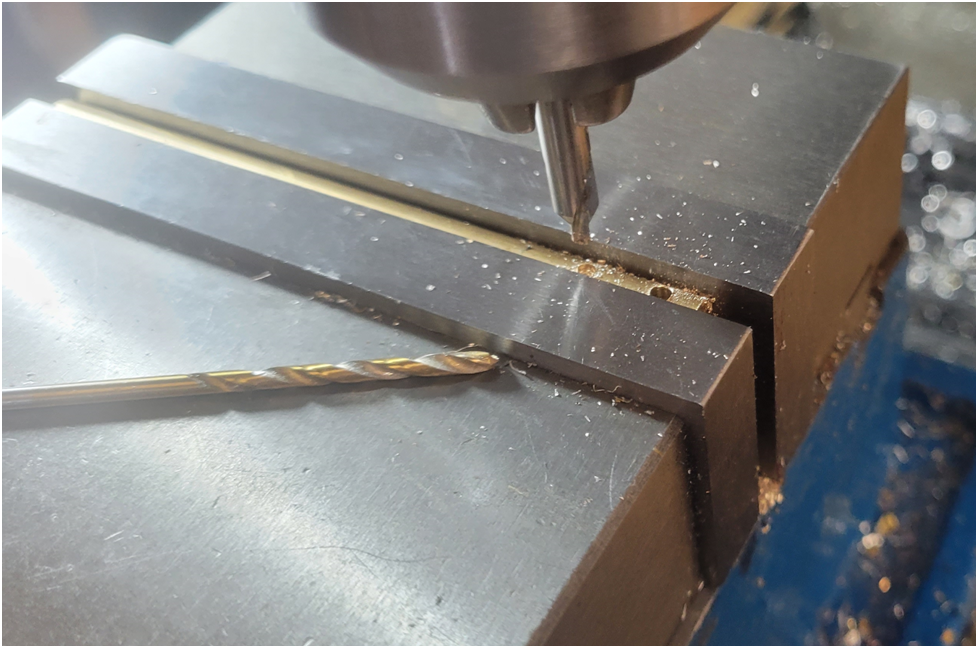
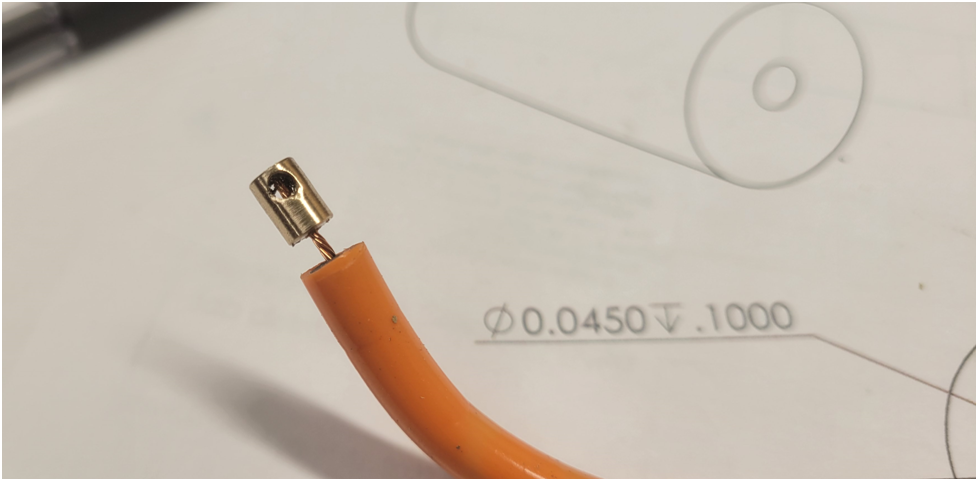
Then turned the outside diameter and drilled the small hole for the spark plug wire.

I am using 22 Gauge wire with 40KV rated insulation for the spark plug wires. Below is a test fit.
The terminals were then soldered to the wires.

Above is the final installation on the engine. I am pleased with the smooth motion and tight tolerance of the distributor contacts. We will see how the 3D printed parts hold up.