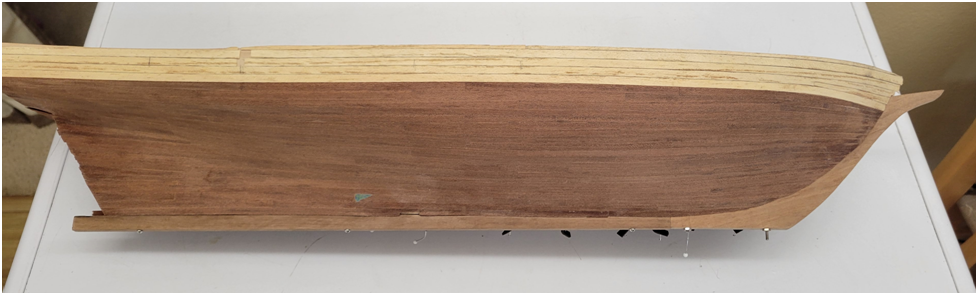
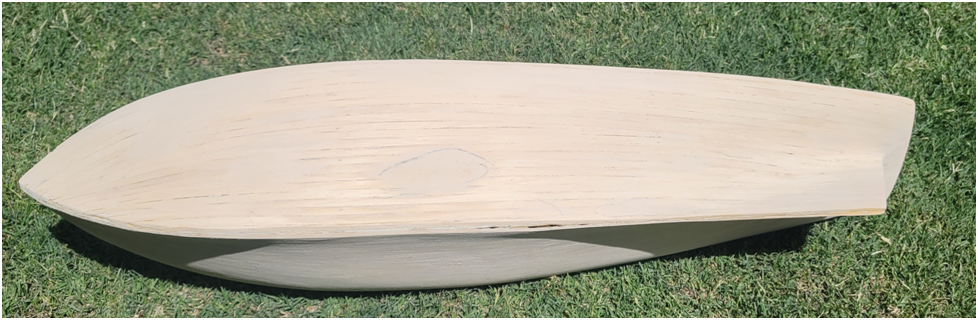
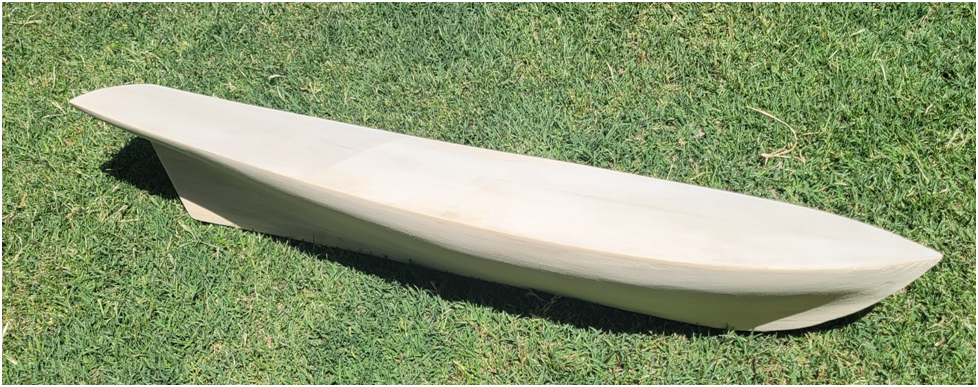
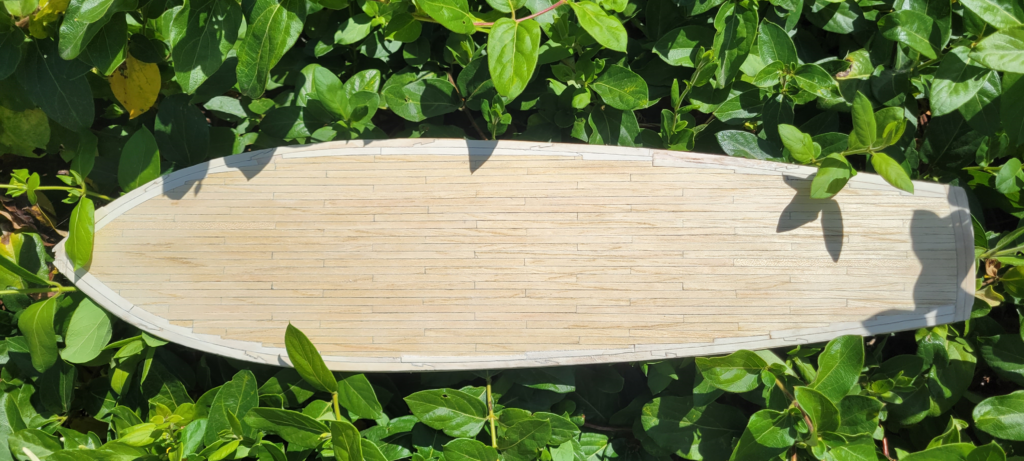
I have finished planking the first layer of the hull. Below are a few pictures of the hull after sanding.
And then a couple of pictures after some wood filler and further sanding.
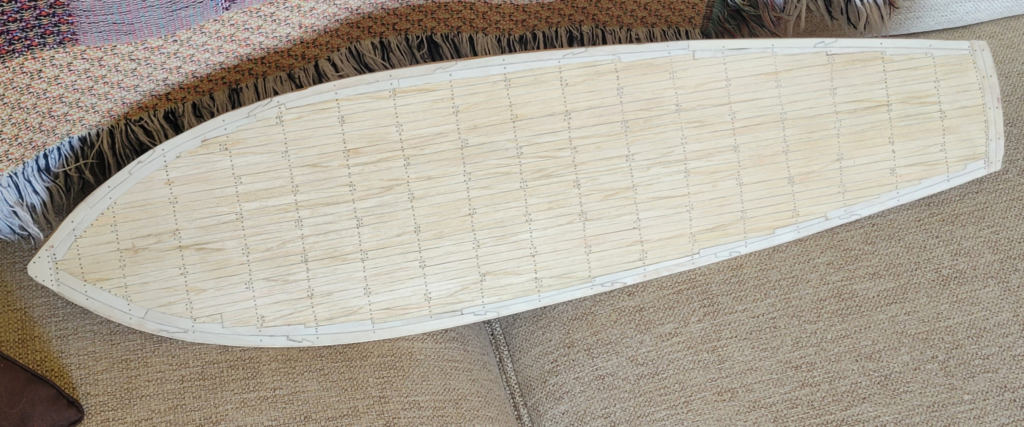
The instructions say the deck planking is up next. I have received my white holly for the deck planks. I plan to run the waterway and margin planks around the periphery of the deck and joggle the deck planks into them. I created a CAD model of the deck because I had to make my own false deck, I think I will use this to plan my deck out on the computer. I have a bit of studying to do before I glue the next parts together.
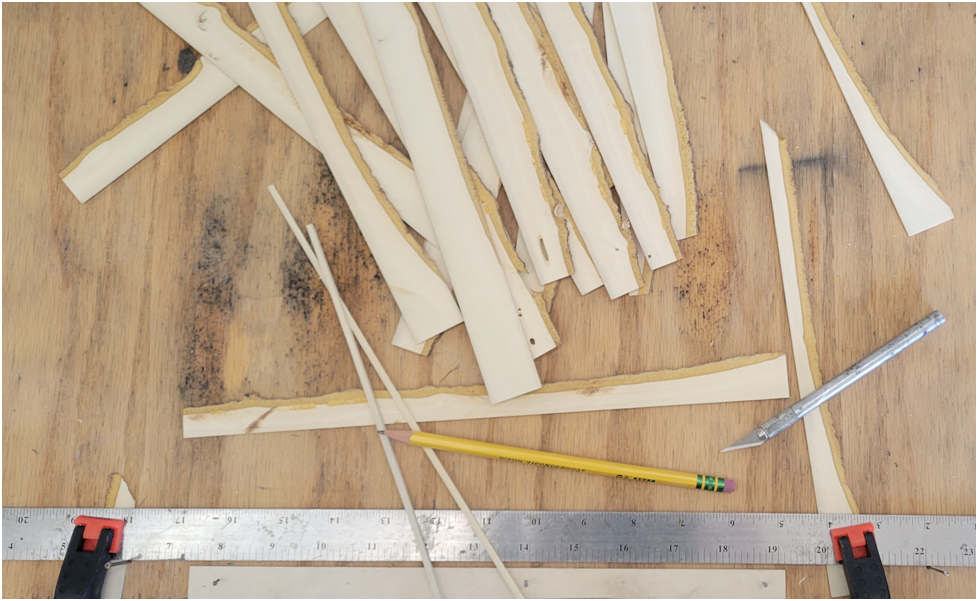
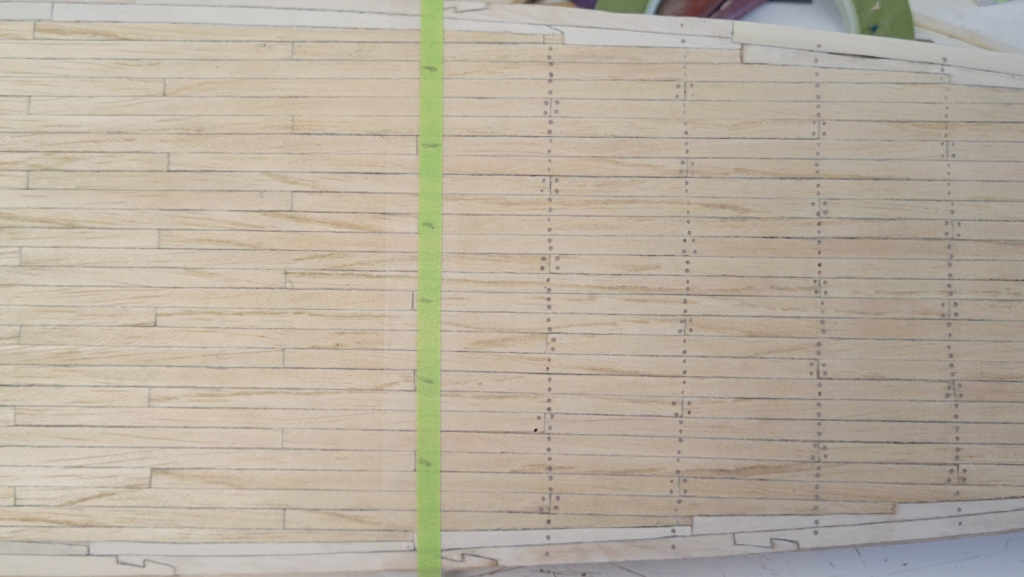
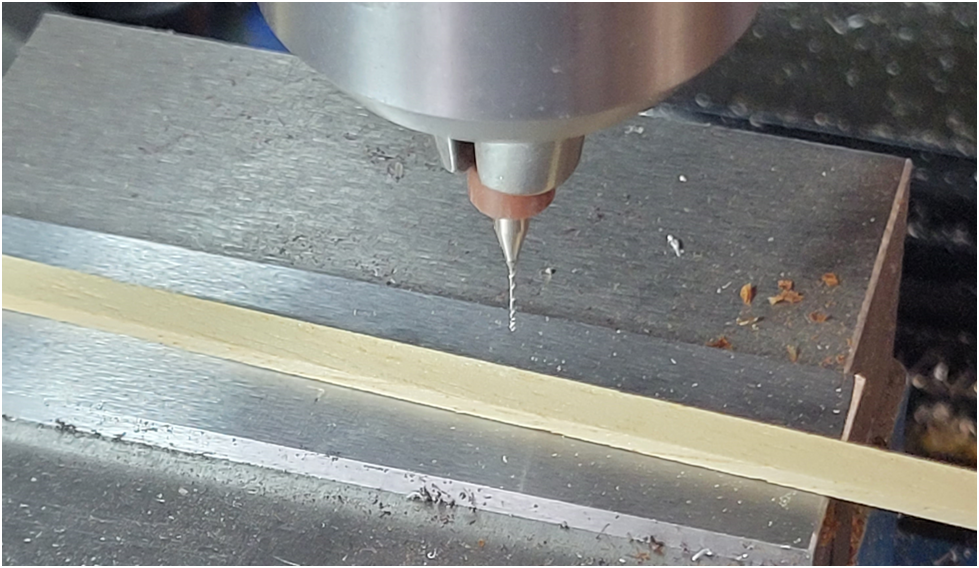
Adventures in making wooden strips. I have spent the last couple of days experimenting with techniques to make wooden strips. I want to make scale decking from white holly, but have been struggling. I am also trying to minimize waste. My band saw does not make clean cuts, my little 4″ blade Dremel table saw is not powerful enough to cut through very thick pieces of the Holly, it is quite hard. I ended up using my big cabinet table saw with a fine tooth carbide blade to cut the thin strips-the blade is about the same width as the thickness of my strips, that is, I am wasting 50% of my holly. Then I used a straight edge and a razor blade to cut the strips to width. This does not work that great–it is hard to get a straight cut, the hard wood required multiple swipes with the blade and the blade dulls quick. Besides it takes for ever. I can use the little Dremel table saw to make the final cut to width, but I am already turning too much of the wood into saw dust.
My deck is 6 inches wide and 24 inches long, using a deck plank width of .12″ ( 1/50 scale of a 6 inch wide plank) I will end up needing over 1000 inches of deck planking. What have I gotten myself into???
In the picture below, after a days work, I ended up with two 12″ deck planks, 98 more to go.
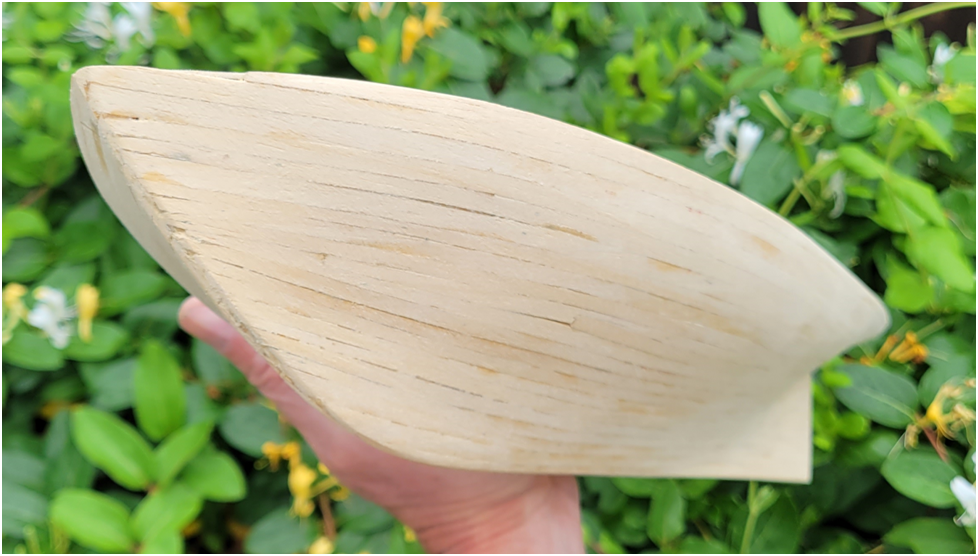
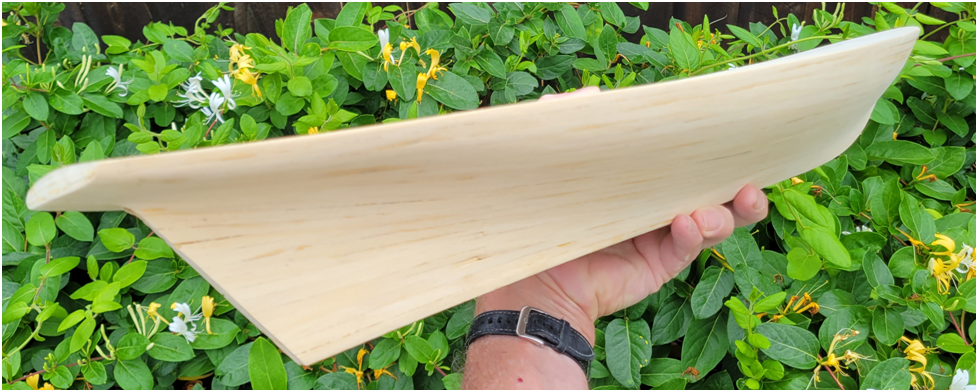
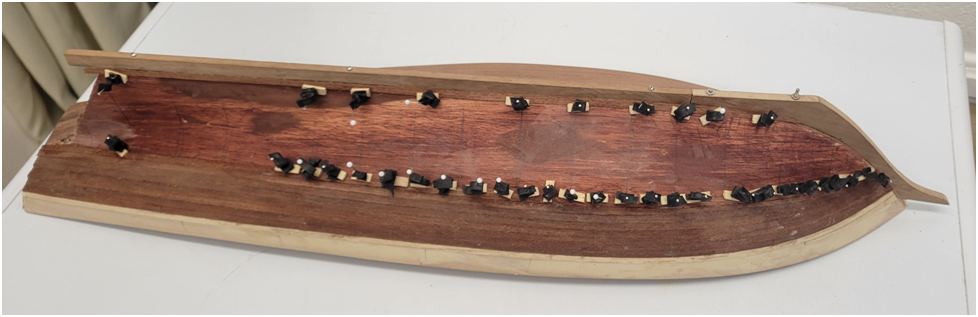
I continue working on planking the hull, the second side is going much smoother than the first side. They say you are supposed to plank both sides at the same time, plank for plank. I did this for my first layer of hull planking to insure there were no offset forces placed on the structure, but I don’t think it matters with this second layer as the structure is very solid and these strips are so thin as to not impart any force of significance.
I am finding that the key to get these really thin walnut strips to lay down flat is to use lots and lots of clamps. My clamps are made from a small strip of wood 1.5mm X 5mm with a .020″ hole drilled for a sewing pin. I then use strips of an old inner tube folded several times and run through the pin to provide the clamping force. I push the pin into the wood with a pair of pliers, then slide the rubber down against the wood strip. They are cheap and easy to make, so I can have lots of them.
You can see that I have used filler to get a nice shape in the first layer of hull planking, and also stain to hid the cracks between the planks. I use the transparent Titebond glue.
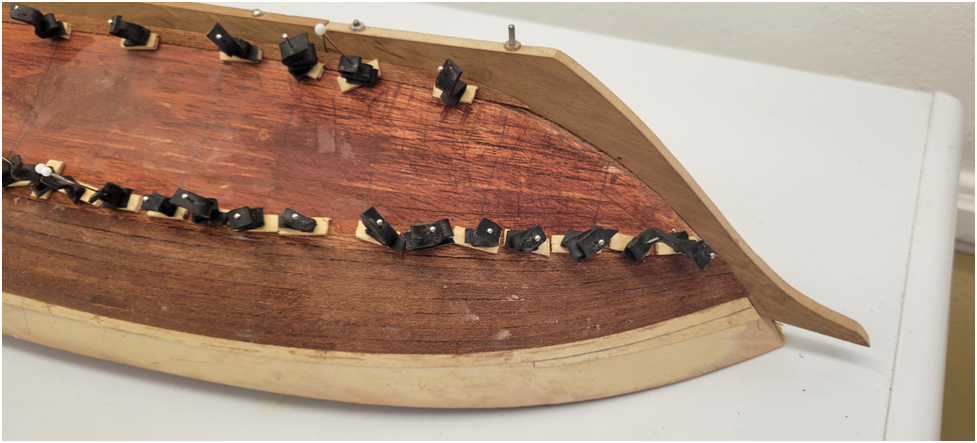
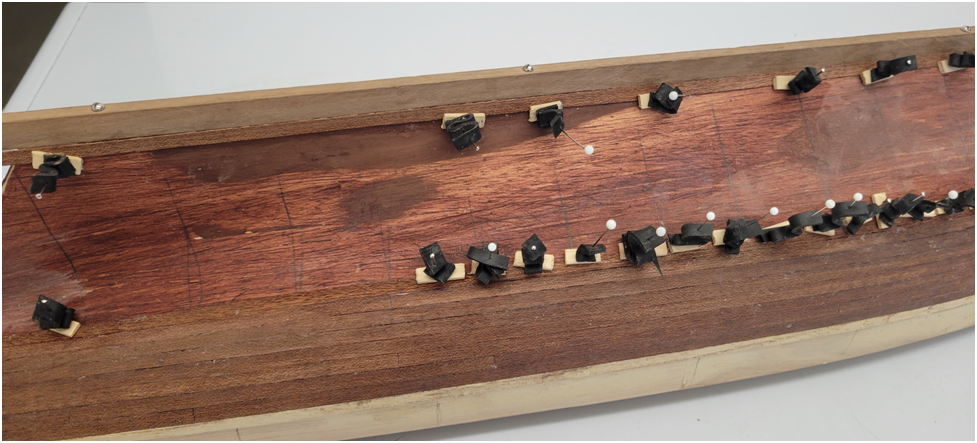
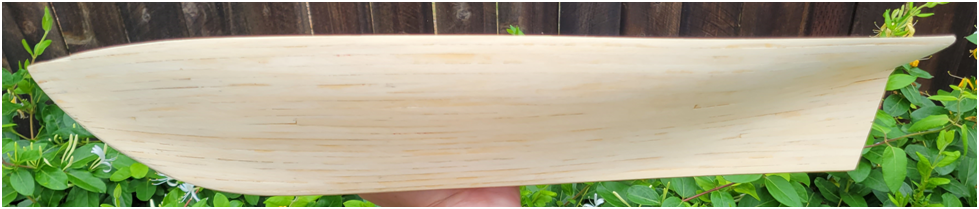
The other side is planked.